Add columns in plan views and 3D views.
Enter the context of your task here (optional).
- On the ribbon, click
 (Structural Column).
- Structure tab
 Structure panel
 (Column)
 - Architecture tab
 Build panel
 Column drop-down
 (Structural Column)
Where is it?
- Structure tab
- On the Properties palette, select a column type from the Type Selector drop-down.
- On the Options Bar, specify the following:
- Rotate after placement. Select this option to rotate the column immediately after placing it.
- Level. (3D views only) Select a level for the column's base. For plan views, the view's level is the base level for the column.
- Depth. This setting draws the column downward from its base. To draw the column upward from its base, select Height
- Level/Unconnected. Select a level for the top of the column, or select Unconnected and specify the column height.
- Click to place the column.
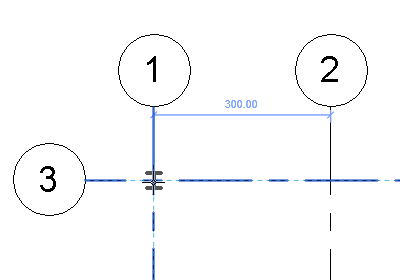
Columns snap to existing geometry. When you place columns at grid intersections, both sets of grid lines are highlighted.

While placing columns, use the Spacebar to change the column orientation. Each time you press the Spacebar, the column rotates to align with the intersecting grids at the selected location. In the absence of any grids, press the Spacebar to rotate the column 90 degrees.