You can rotate the entire model, or selected entities, into a defined plane by using the 3 Points Rotate tool.
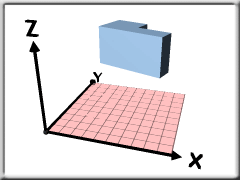
The model entities are rotated so that the plane you define using the 3 points, is placed on the global coordinate system XY plane after rotation.
Note: If you want to rotate the model entities about the X, Y, or Z axis, use the
Rotate tool.
- Click
 ().
().
- Select the entities on the model that you want to rotate.
- Click First then select the first coordinate on your model. The First coordinate will be placed on the axis origin after rotation.
- Click Second then select the second coordinate on your model. The Second coordinate defines a curve and direction that will be placed on the X axis after rotation.
- Click Third then select the third coordinate on your model. The Third coordinate defines a plane that will be placed on the XY plane after rotation.
- Specify whether to Move or Copy the entities.
- Select a layer option for moving or copying the entities.
- Click Apply to apply your selections.
- Click Close to close the dialog.