Generate surface features on a part from color data
Once color or texture has been applied to a part, the color data can now be used to change the part's surface without having to use manual editing in Netfabb or other modeling software.

|
|
|
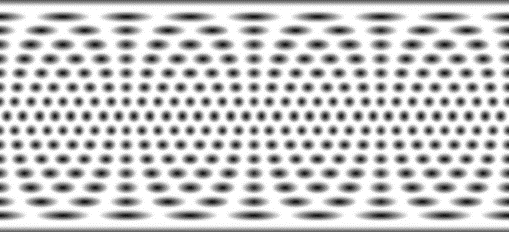
- Color or texture your part. If using a texture, it is best to use a grayscale image.
- Switch to the Extrude tab in the context view.
- Refine the edges as required to adjust the resolution of the mesh. The lower the value for the edge size, the more refined the mesh becomes which improves the imposing.
Note: Very small edge lengths will increase the calculation time.
- Adjust the White Movement and Black Movement as necessary to control how the white, black, and gray areas will be extruded. A positive value pulls the colored area out of the original geometry. A negative value subtracts the colored area from the original volume.
- Choose the Extrude Area. If your texture is wrapped around the entire part, select Whole Part. If your texture is only applied to a specific area on the part and you don't want to apply the extrusion to the entire part, select the directory of the image.
- Click Extrude.
- Click
Apply Changes to produce the part with the imposed texture.
Note: It is recommended to smooth the surface of the part after the texture imposing operation.

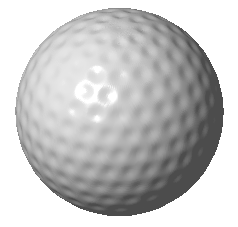
Left: Result of texture imposing. Right: Improved surface after smoothing operation (5.00 iterations)