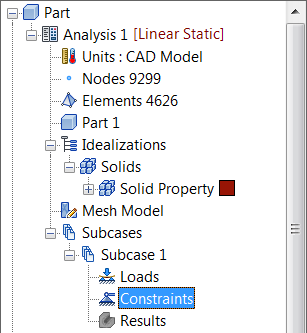
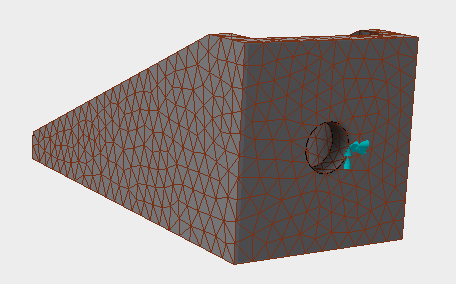
- The square back face of the bracket is fixed. Use the View Cube to orient the part so that you have a clear view of the back face. Right-click on
Constraints under
Subcase 1 and select
New.
 All the entities that you will be creating will also appear in Model Entity list. This list will expand as the modeling progresses. The Model Entity list provides a means of easily applying entities to other subcases as well.
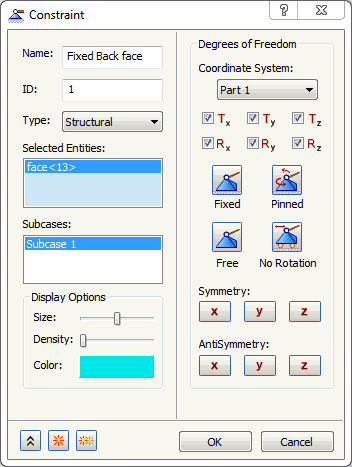
- When the
Constraint dialog appears, select the back face.
- Type
Fixed Back Face
for the
Name of the constraint.
Note: In the Display Options section of the Constraint dialog, you can adjust the size, number, and color of the constraint symbols that appear in the part display.
- Be sure that
Subcase 1 is selected in the
Subcases list, and then click
OK. This will automatically add the constraint to
Subcase 1.