To increase productivity and get the best results when using Revit for fabrication detailing, follow these recommendations.
Repositioning parts
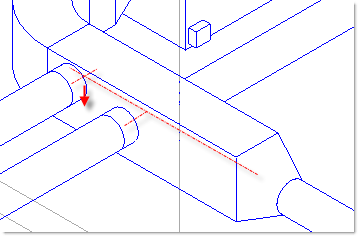
- Press the Shift key while dragging a connector to reposition multiple parts freely. For example:
- When you drag the connector while pressing Shift, you can move the pipe in any direction.
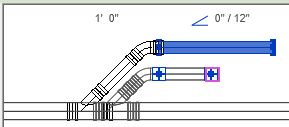
- When you drag the connector while pressing Shift, you can move the pipe in any direction.
- When you drag the connector without pressing Shift, the movement is constrained.
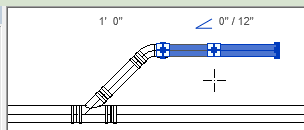
- Use the Move tool for more precise movement. See
Move Elements with the Move Tool.

Center offset taps before using Design to Fabrication
To improve the results when converting a Revit model to fabrication parts, ensure that offset taps are center justified before starting the Design to Fabrication tool. After the conversion is complete, you can reposition the taps.
Before using Route and Fill, add a bend for gaps that require three bends
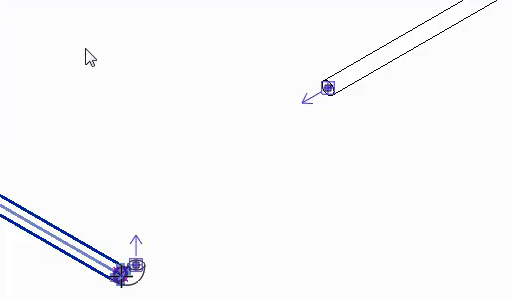
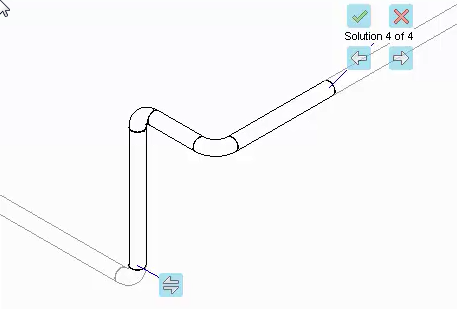
Use Route and Fill to connect a branch to a main
When connecting a branch to a main, use Route and Fill. Trim/Extend always uses the first solution, which may not give you the desired result. By using Route and Fill, you can get to the desired solution more quickly.
Snap to edge when cutting in to a straight
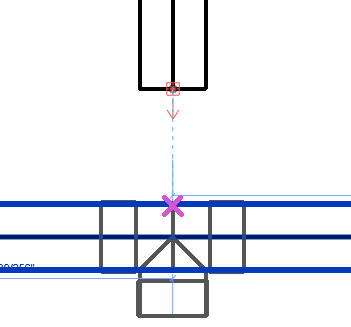
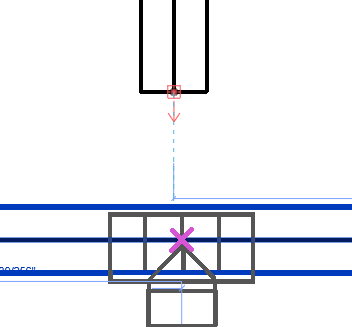
When inserting or cutting in a fabrication part into a straight, such as a Tee intersection, by snapping to an intersecting branch tracking line, snap the part to the intersection by clicking on the edge of the straight, and not by clicking on the centerline of the straight.
Do this because when you snap to the edge, the part snaps to the tracking line. When you snap to the centerline, the part snaps to the snap grid, and not to the tracking line. For more information about snapping behavior in Revit, see Snaps.
| Snap to (click on) the edge of the part, as shown below (snaps to tracking line): | Do not snap to (click on) the centerline of the part, as shown below (snaps to snap grid): |
|
|
|
