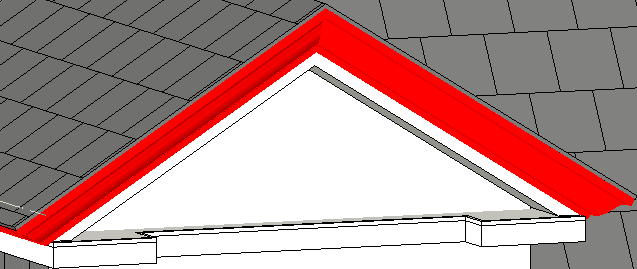
Use the Fascia tool to add fascia to edges of roofs, soffits, model lines, and other fascia.
- Click Architecture tab
 Build panel
 Roof drop-down
 (Roof: Fascia).
- Highlight edges of roofs, soffits, other fascia, or model lines, and click to place the fascia. Watch the status bar for information about valid references.
As you click edges, Revit treats this as one continuous fascia. If the fascia segments meet at corners, they miter.
- Click Modify | Place Fascia tab
 Placement panel
 (Restart Fascia) to finish the current fascia and start a different fascia.
- Move the cursor to a new edge and click to place.
This different fascia does not miter with other existing fascias, even if they meet at the corners.
- Click onto white space in the view to finish placing roof fascias.
Crown molding fascia
Fascia profiles miter correctly only around a square cut roof. The roof in this image was created by running a fascia along the edge of a roof with a Two-Cut Square rafter cut.

 Video: Add Fascia