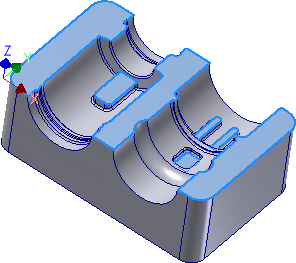
This next operation introduces the Parallel strategy which is one of the most widely used finishing strategies. The passes are parallel in the XY plane and follow the surface in the Z direction. Parallel passes are best suited for shallow areas and down milling.
- On the ribbon, click
CAM tab
 3D Milling panel
Parallel
3D Milling panel
Parallel
 .
.
 Tool tab
The previous tool #21 - Ø6 mm ball should still be selected.
 Geometry tab
The previous Contour operation covered the slope range from 30 to 90 degrees. Specifying the Parallel operation to machine from 0 to 35 degrees provides a 5 degree overlap between the two operations.
- Click the Geometry tab.
- Enable the Slope check box.
- Set To slope angle: to: 35 deg
The shallow areas of the part require finishing; specifically those areas under 30 degrees not reached by the previous Contour finishing operation. To prevent the tool from touching the flat surfaces that are already finished, the Avoid surfaces function can be used.
- Enable the Avoid/Touch Surfaces check box.
- Make sure that the Avoid/touch surfaces button is active and select all of the flat faces as shown in the image below:
 Heights tab
- Click the Heights tab.
- From the Top Height drop-down menu, select Model top.
- Set Top offset: to: -1 mm
With the Top offset value set to 1 mm under the top plane of the part, the tool only machines the inside cavities of the part and not the upper surfaces.
Alternatively we could have included the top surfaces in the Avoid surfaces selection.
 Passes tab
- Click the Passes tab.
- Change Stepover: to: 0.2 mm
- Change Pass direction: to: 45 deg
 Linking tab
- Click the Linking tab.
- From the Retraction policy: drop-down menu, select Minimum retraction.
- Change Safe distance: to: 6 mm
- In the Leads & Transitions group and from the Transition type: drop-down menu, select Straight line.
Start the Calculation
- Click
 at the bottom of the Operation dialog box, or right-click in the graphics window and select OK from the marking menu, to automatically start calculating the toolpath.
The toolpath is now calculated and a preview appears in the graphics window.

Continue to To Machine Fillets Using Pencil - Part 1...