First, assign a name to a face or edge, and then create a rule that adds the constraint(s) directly to a faces or edge with those names.
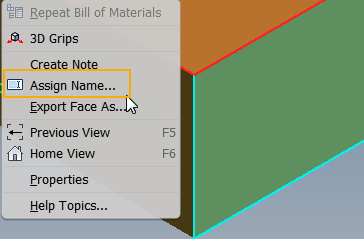
- In a part file, right-click on the geometry that is or will be constrained to another part, and select Assign Name.
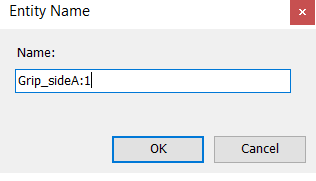
- Enter a descriptive name to the constrained geometry to make it easier to identify the geometry in the rule editor.
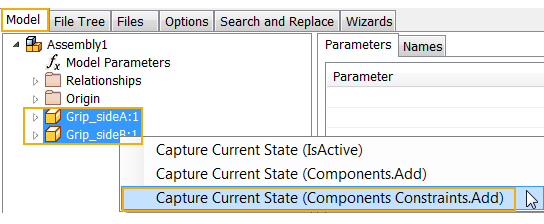
- In the assembly file, in the Edit Rule dialog box on the Model tab, multi-select the part names, right-click, and then select Capture.Current.State (Components Constraints.Add) from the context menu.
The rule editor populates with the new rule. The constraint will be re-created whenever you run the rule.
Note: If the geometry was not assigned a name in the part file, the Rule Editor creates a generic name for the geometry.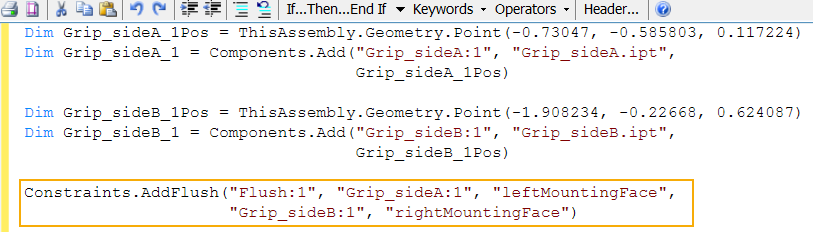
The assigned name displays in a new Geometry tab in the iLogic browser and on the geometry in the graphics window (part file only).
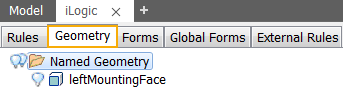
Tip: Control the display of the assigned name in the graphics window using the context menu option Show/Hide Label.
Note: There is no associativity between the assigned name and the Rule Editor. If you change an assigned name in a part file, you will need to recreate the rule or manually change the assigned name in the rule editor.