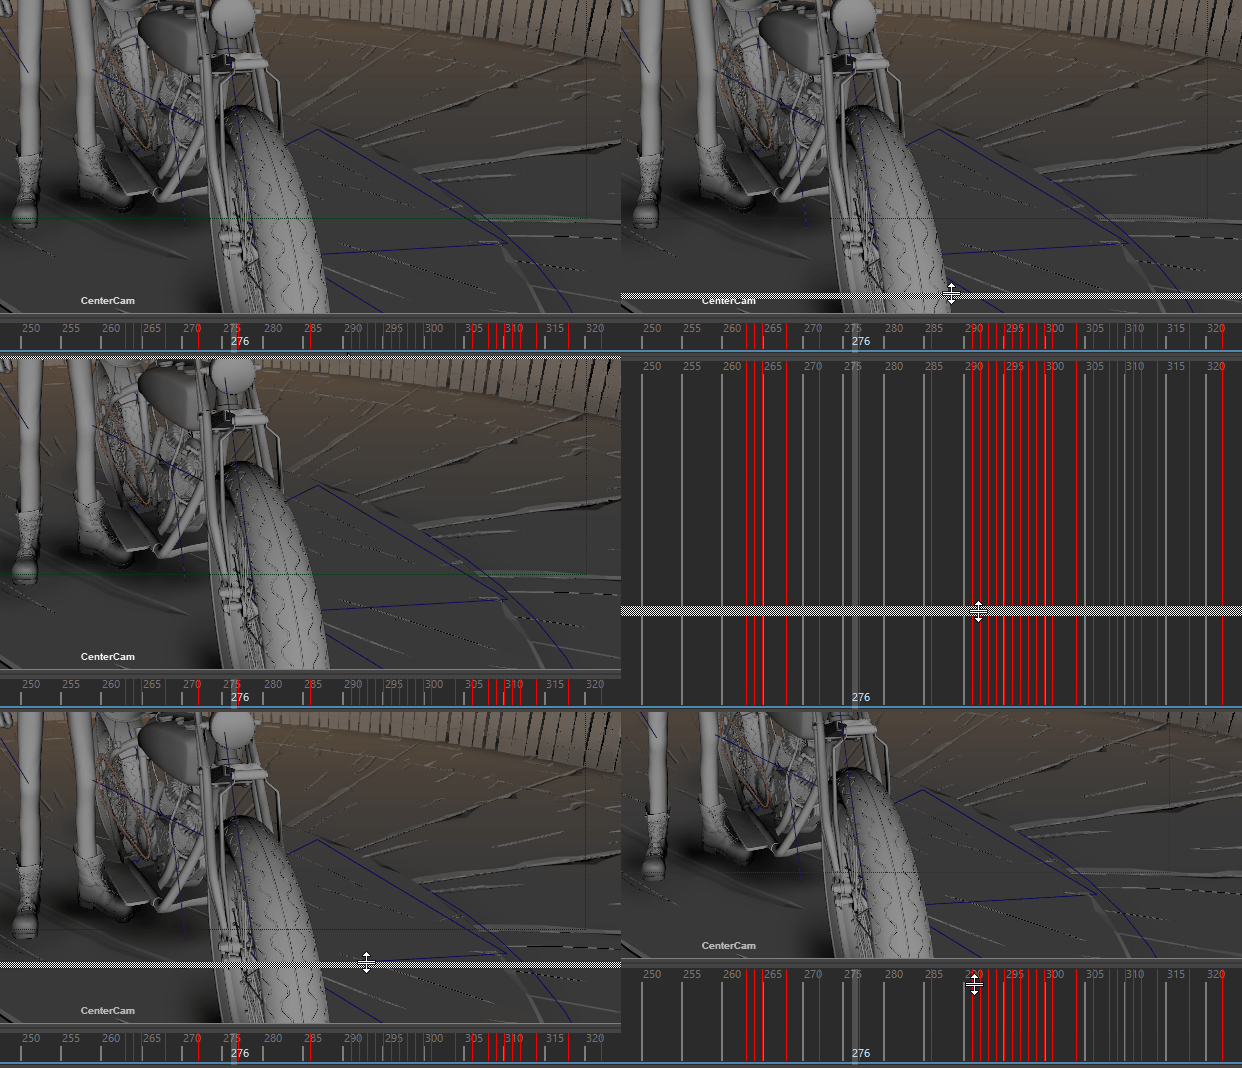
You can change the color and size of various elements of the Time Slider to suit your own working style. The settings are in the Windows > Settings/Preferences > Preferences.
Resize the Time Slider


Key ticks
Key Ticks are red (by default) marks in the Time Slider that represent the keys you set for the selected object. Breakdowns are a special type of key displayed as green marks in the Time Slider. See Breakdowns.
To set the thickness of your keyframes in the Time Slider
- Select
Windows > Settings/Preferences > Preferences.
The Preferences window appears.
- In the
Time Slider section, set the
Key Tick Size preference setting.
Key thickness is measured in pixels. The minimum key thickness is 1 pixel and the maximum is 63 pixels.
To set the color of a curve’s keyframes in the Time Slider
- In the Graph Editor graph view, select a curve.
- In the
Graph Editor menu bar, select
.
The spreadsheet for the selected animation curve appears in the Attribute Editor.
- Choose a
Curve Color and turn on
Use Curve Color.
All the curve’s keyframes in the Time Slider are now the Curve Color you selected.
To set the color of individual keyframes in the Time Slider
- Select .
- Choose a Time Slider Tick Special color and click Save.
- In the Graph Editor, select the keyframe(s) you want drawn in the Time Slider Tick Special color.
- In the Command Line or
Script Editor, enter the
keyframe MEL command with the
-tickDrawSpecial(-tds) flag as follows:
keyframe -tds on
and then press Enter on the number pad.
The keyframes you selected and set the -tds flag for are now drawn with Time Slider Tick Special color in the Time Slider.
For more information on this flag, see in the MEL Command Reference documentation.
Note:- The Time Slider Tick Special color preference overrides the key color set by the Curve Color attribute.
- If you have multiple keys at the same time in the Time Slider, and one of those keys has its -tds flag set to on, then the Time Slider Tick Special color will take precedence over the other key colors.
Time Slider Colors
You can customize the color settings for the Time Slider to increase visibility, especially for larger timelines.

To open the color settings for the Time Slider
- Select .
- In the Color Settings window, expand the Animation heading.
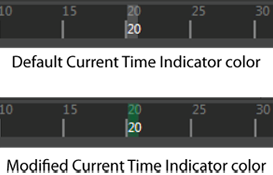
To change the color of the Current Time Indicator

To change the color of the Time Slider foreground or background
Change the Time Slider Foreground and Time Slider Background settings.