In the previous lesson, you added lighting to your scene. Now it is time to give your sculpture some color.
Open the scene
If you completed lesson 1, you can use your edited scene for this lesson. Otherwise, you can open the scene file named coloring.mb.
This file can be found in the GettingStarted2020LessonData\Rendering Directory.
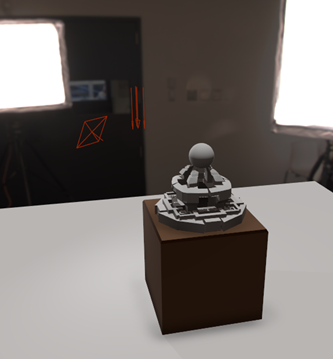
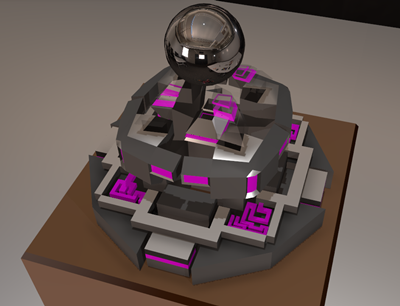
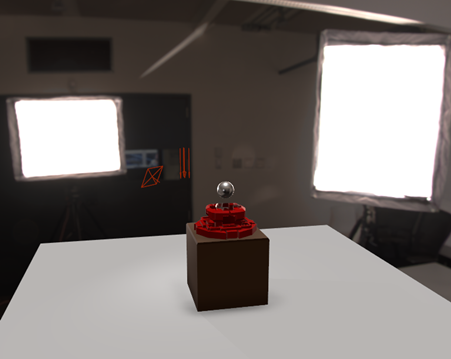
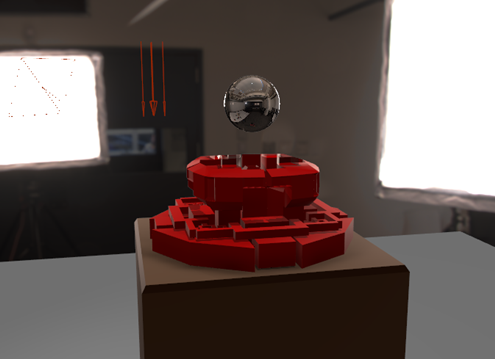
The scene contains a sculpture atop a pedestal, holding a ball. This scene has lighting, but the sculpture has no color.
Adding a material
- Switch to the Rendering shelf if you haven't already.
- Select
Assign Standard Surface.

- In the
Attribute Editor, you can now change the settings of the material.
Note: You can adjust the base color, make it shiny by increasing Specularity, make it see-through with Transmission, and much more. Feel free to explore the material options.
- Set the color to whatever you'd like.
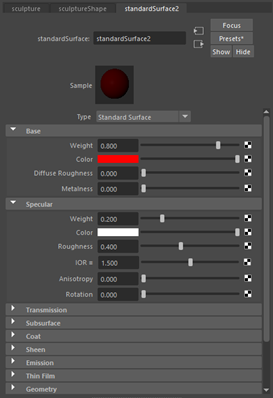
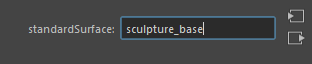
- Change the name of the material to sculpture_base.
You can also apply multiple textures to the same object, as can be seen with the pedestal.
- Hold right-click and select Face.
- Marquee-select the top part of the Sculpture.
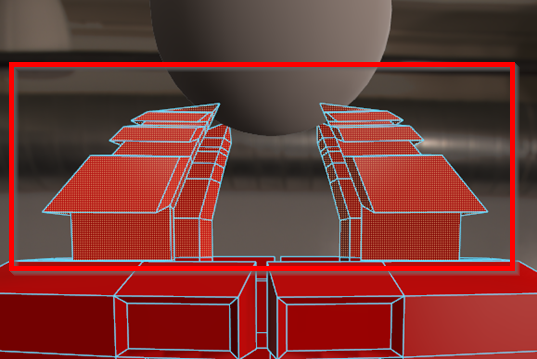
- In the
Rendering shelf, select the
Assign Standard Surface button.
Note: This new material only applies to the selected faces.
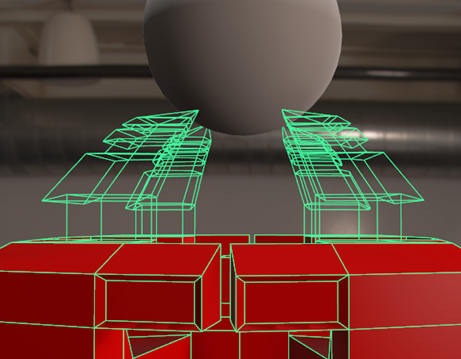
- Change the name of the material to sculpture_top.
- Select Presets, Frosted_glass, and then Replace.

For the ball, we are going to give it a reflective surface. This is done with the Metalness setting.
- Hold right-click and select Object Mode.
- Select the ball.
- In the Rendering Shelf, select Assign Standard Surface.
- Change the name of the material to ball_surface.
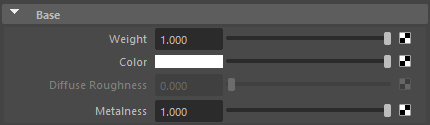
- Use whatever color you'd like, but set Metalness to 1.000, and base weight to 1.000.
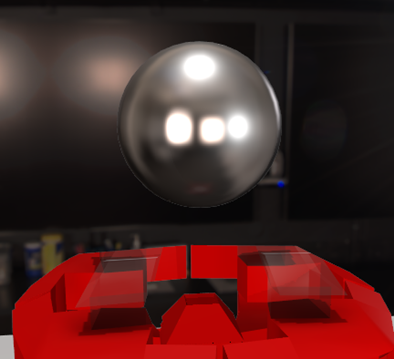
 Note: Look at the reflections on the surface of the ball. They match the background, and the lights we added.
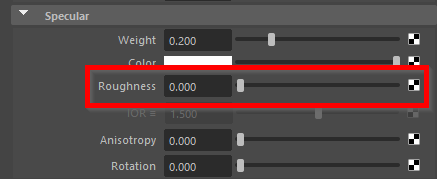
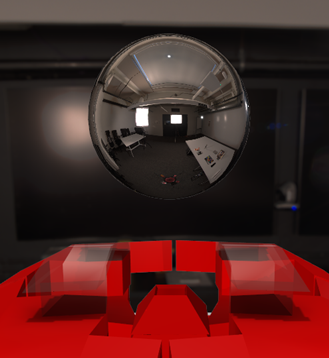
 - Set the Specular Roughness to 0. The Skydome is now clearly reflected on the sphere.
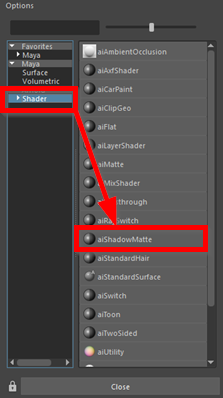
Now that we've added materials to our model, the scene is almost ready for basic rendering. However, there is one more thing left to do. There is a plane located below the pedestal. This will show up in rendering. If you delete it, then the models will not cast any shadows on the floor of the Skydome. However, by using the Shadow Matte material, you can make an object transparent, and still be able to cast shadows on it.
- Select the ground plane.
- Hold right-click and select
Assign New Material. Select
Arnold Shaders, then
aiShadowMatte.
 Note: The ground plane still appears in your viewport, but if you render the scene, the plane will be invisible. Shadows will still be visible on the plane. The current skydome background has a dark floor, making shadows harder to see, but it is always a good practice to include a Shadow Matte floor when using a skydome background.
This level of quality is fine for basic rendering but if you'd like to learn some more advanced techniques, continue onto the next lesson.
For additional practice, try adding more colors to your model.