If your character's joints are named according to the HumanIK naming conventions (listed in the Name Match view), you can apply the HIK naming template to automatically complete the mapping process.
To define a skeleton using the HIK naming template
- File > Import... the file
Template.mb.
This file can be found in the GettingStarted2020LessonData\HumanIK directory that you set as your Maya project.
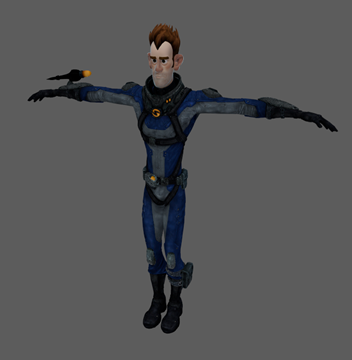
A character named Sven appears in the Maya scene.
- Select Skeleton > HumanIK... to open the Character Controls.
- Click Create Character Definition in the Create section of the
Start pane.
This creates a new character (named Character1 by default) and opens the Definition tab.
- Select one of Sven's bones in the scene.
- Click the
Load Skeleton Definition icon
 in the
Definition tab toolbar.
in the
Definition tab toolbar.
The Load Skeleton Definition dialog box opens.
- Select HIK from the Template drop-down list.
- The
Match all bones with prefix option will match all of the bones in Sven's body.
Make sure this option is selected and QuickRigCharacter_ is entered as the prefix.
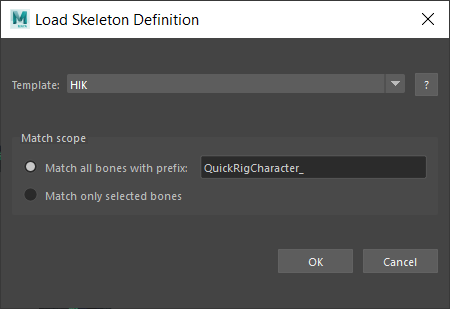
- Click
OK.
The template is applied and Sven's skeleton definition is valid.
 -click anywhere in the Character view and select
Name Match View from the menu that appears.
-click anywhere in the Character view and select
Name Match View from the menu that appears.
Note that all of Sven's nodes have been matched based on the HumanIK naming conventions. Sven's joints use the same joint names as those listed in the Name Match view.
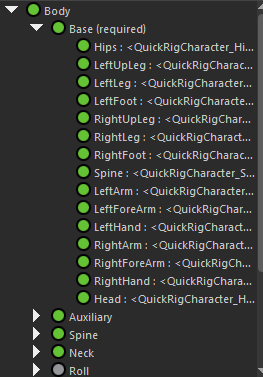 Note: See how all the joint names are long and cut-off? It is good practice to rename your characters to avoid this.