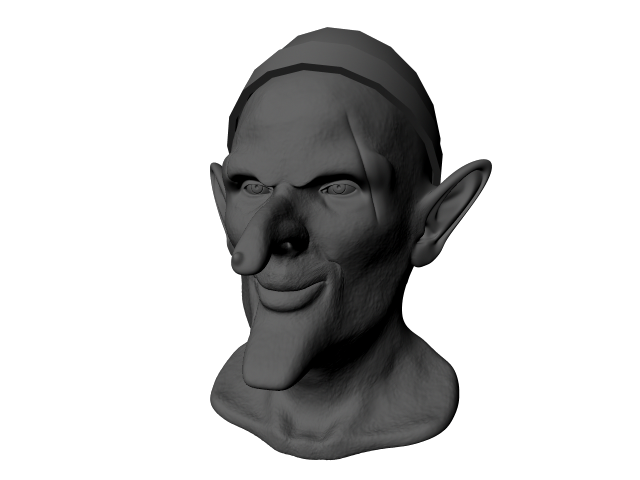
For this lesson, you've been using Soft Select and the transformation tools. Meshes can also be edited with the sculpting tools. In this section, you'll use a few of the most commonly used sculpting tools to add some additional details to your goblin. You can either use your current goblin, or open the scene "polyhead-finished".
To prepare your model for sculpting
Sculpting tools work best when your model has lots of polygons. You can divide the current polygons on your model into smaller polygons by using the smooth tool.
- Switch to the
Sculpting shelf.

- Highlight your goblin in object mode.
- In the modeling toolkit, Shift + Click the
Smooth Tool.
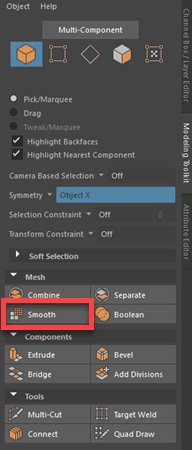 Note: It is important to note that there are two different Smooth Tools, and you will be using both in this lesson. There is the Smooth Mesh Tool, and the Smooth Sculpting Tool. This is the only time that the Smooth Mesh Tool is used. For all future uses of Smooth Tool, select the one on the sculpting shelf.
 - Set Division Levels to 3 and click Smooth.
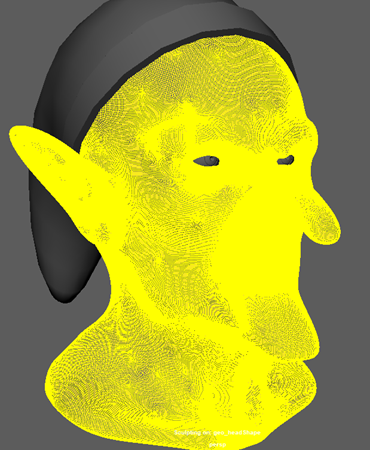 Note: Division levels can be set higher to increase the quality of sculpting edits, however this will also impact system performance. 3 Divisions is enough for the current lesson without being too resource-heavy. Set the divisions to 2 if it is impacting performance too much.
To add a mole
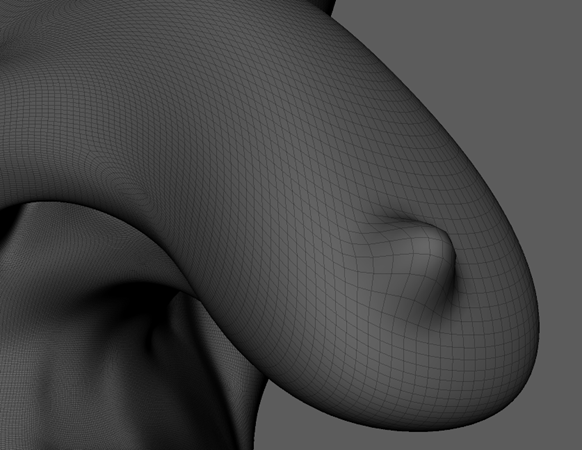
Now that your model is ready for sculpting, it's time to give him a mole.
- Double-click the
Sculpt Tool, set size to 0.500 and strength to 2.000.

- Select your model.
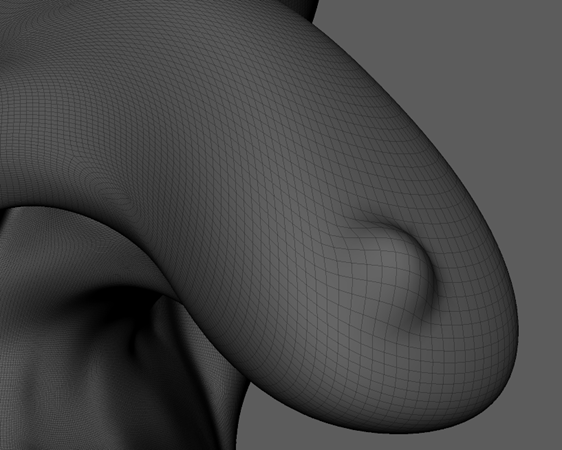
- On the very tip of the nose, click and drag the cursor a small amount to the right. Just enough to make a small bump appear.
- To reduce the sharpness of the bump, select the
Smooth Tool.
 Note: You can also quickly switch to the Smooth Tool by holding shift when using any sculpting tool.
 - Click and drag over the bump.
 Note: Be careful not to remove the bump entirely. Use the smooth tool lightly and sparingly.
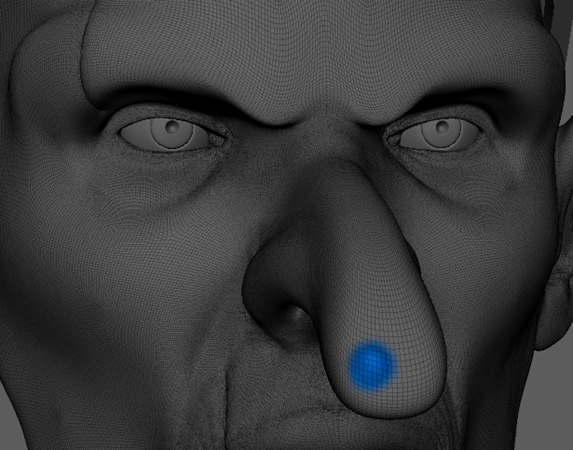
 - Once you're happy with the shape of the mole, select the
Freeze Tool.

- Drag over the mole until it is all highlighted in blue.
To add skin texture
By freezing your goblin's mole, you've ensured it will be unchanged when we add texture to the goblins skin. This is done with the Spray Tool.
- Double-click the
Spray Tool, set size to 3.000 and strength to 0.300.
 Note: The Spray Tool randomly applies a stamp repeatedly over a surface. This is useful for giving things an organic look.
 - Under the Stamp section in the Spray Toolsettings, select Pick Stamp and choose "bw_brushedNoise.tif".
- Hold Control + drag over the face of the goblin until his entire face is textured evenly.
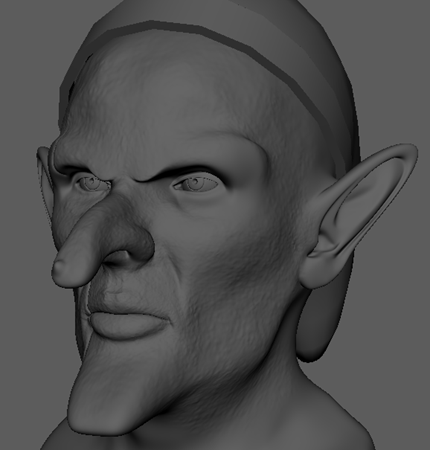 Note: By holding Control, you invert the direction of the sculpting tool's edit. In this case, it makes the Spray Tool move the skin slightly inwards, which looks better than if we had the skin being pulled outwards.
To add another scar
To add an additional scar to your goblin, you will need to use the Knife Tool, the Relax Tool, the Pinch Tool, and the Level Tool.
- Select the
Knife Tool, set size to 1.000 and strength to 1.000.
 Note: The Knife Tool makes narrow strokes in surfaces. This is handy for adding wrinkles, creases, valleys, and in this case, scars.
 - Set Spacing to 10.000.
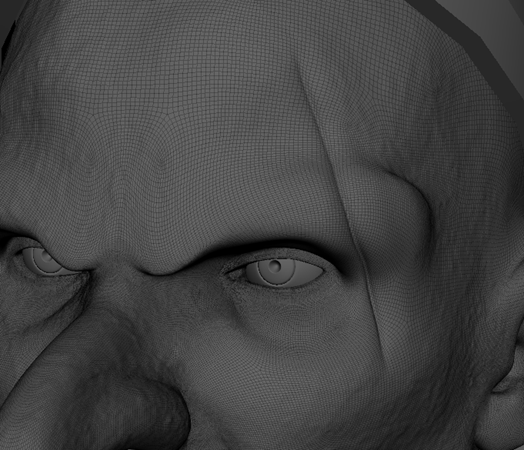
- Drag over the left side (your right) of the goblin's face, past his left eye.
 Note: Your scar might look a little jagged on the inside. This can be solved by setting subdivisions to a higher amount before making your edit. The Relax Tool can also help by removing the most noticeably jagged parts.
 - Select the
Relax Tool and drag over the scar, focusing on the most jagged areas.
 Note: The Relax Tool is similar to the Smooth Tool, except it does not change the original shape of the object. This is useful for making small touch-ups.
 - Select the
Pinch Tool and drag it over the scar a couple times.
 Note: The Pinch Tool brings vertices closer together, which narrows and more sharply defines an existing crease.
 - Switch to the
Level Tool and drag it over the scar once.

 Note: The Level Tool flattens things, removing curves. In this case, we'll be using it to give the scar a more faded look.
To add a smile
This goblin doesn't seem very happy. Why not give him a smile? For that, you'll need the Pull Tool.
- In the Modeling Toolkit, set Symmetry to Object X.
- Select the
Pull Tool and set size to 2.500.

- Click just above and away from the side of one of his lips and drag it upwards.
