In Maya, surfaces appear in a rendered image based on the shading materials you apply to them. The default shading material that gets assigned to surfaces provides basic attributes such as color, transparency, and incandescence.
Depending on your final image requirements, you can enhance the visual impact of an object by adding one or more texture maps to the assigned shading material. One basic texture map you can apply is a bitmap image also referred to as a file texture. In this lesson, you apply a texture map we’ve created for your use on the cracker box.
For more basic information on shading materials and texture maps see the Rendering chapter of this guide and the Maya Help.
To assign a shading material to the cracker box
- In the scene view, select
Shading > Smooth Shade All from the panel menu.
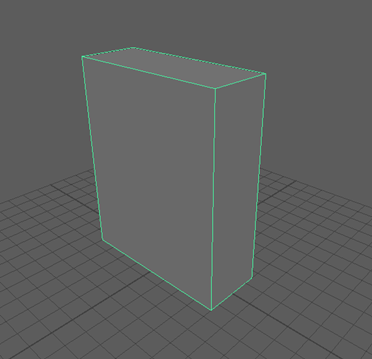
This displays the cracker box with a default gray, smooth shading material, lit using default lighting. Turning on Smooth Shade All displays the assigned shading material you apply to the cracker box in the steps following.
- In the scene view, right-click on any region of the cracker box and select
Assign New Material
from the pop-up menu.
The Assign New Material window appears.
- Select the Arnold category on the left, and then select aiStandardSurface.
A new shading material is created and assigned to the cracker box. The Attribute Editor appears and displays the various attributes for the new shading material in the aiStandardSurface1 tab.
The new material is nearly identical to the default gray material that was previously assigned to the cracker box. However, it’s always a good practice not to modify the default shading material in the scene. Instead, you should always create a new shading material and modify it to suit your requirements.
- In
Attribute Editor, click the aiStandardSurface1 tab and double-click in the aiStandardSurface1 box and rename the shading material
box_material.
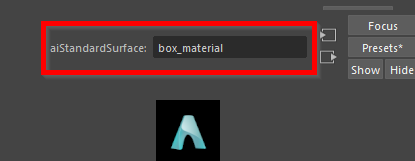
Renaming the shading material lets you easily identify it later on when you need to edit it. Naming items uniquely in Maya is a useful habit.
- Under Base, set Weight to 1.000.
- Under Specular, set Weight to 0.
- Go back to the Base tab and click the Map button located to the right of the Color Slider

The Create Render Node window appears and lists the various texture options you can apply (or connect) to the color channel of the box material.
- Click Arnold > Texture on the left, and then select aiImage on the right.
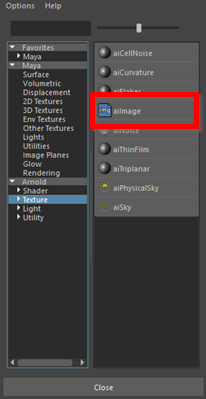
The Attribute Editor updates to display the options for the Arnold image texture.
Tip:If the Attribute Editor suddenly appears empty, it indicates that no objects are selected in the scene. Simply select the box model again in the scene to display the attributes for the box.
- Click the
Browse button (folder icon) to the right of the
Image Name attribute to specify the image file for the texture map.
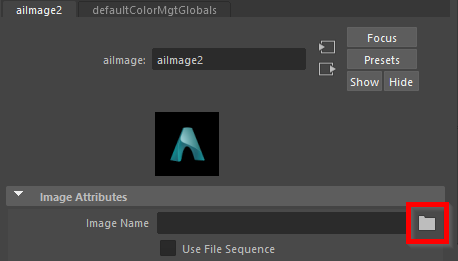
A browser window appears with the path set to the default project directory. By default, Maya looks for source images for texture maps in a sourceimages folder whenever the project folder is set. Maya can use file texture images from anywhere on your workstation or local network. For example, you can have images on a central disk drive that is shared among users in a production environment.
- Select the image file named
UVLesson.jpg and click
Open.
This file can be found in the GettingStarted directory that you set as your Maya project:
GettingStarted2020LessonData\UVMapping\sourceimages
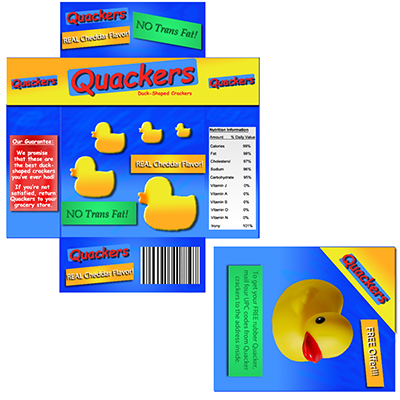
The image contains 2D artwork for the front, back, top, bottom, and sides of the cracker box.
A small preview of the image appears in the Texture Sample box in the Attribute Editor.
When a texture is applied to a shading material, its attributes get added to the existing attributes for the shading material. That is, all of the existing shading attributes remain unchanged except for the attribute modified by the texture. In this case, the grey color is substituted by the image of the cracker box artwork.
- In the scene view, select
Shading > Hardware Texturing from the panel menu to display the texture map on the cracker box model.
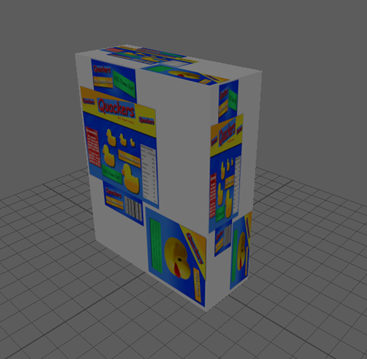
The texture map does not appear correctly on the cracker box model because the default UVs for the cube primitive don’t correlate to the texture map properly. The texture map was designed so that specific sides of the box receive specific regions of the image. Right now, the complete image is being placed on every side of the object.
To correct this problem you must modify the default UV texture coordinates for the model so they match the layout of the texture image. To do this, you use the UV Editor.