Welcome to Maya LT 2020! This release provides new tools and updates to help animators, modelers, riggers, and technical artists be more efficient and productive so they can spend more time on the creative.
Animation productivity and workflow enhancements
Auto snap keys to whole frame

Ghosting Improvements
- Toggle ghost visibility: Select the new Visualize > Show/Hide ghosts option to toggle the visibility of ghosts in your scene without losing any of the existing ghosting parameters.
- Ghost opacity and color: New ghost opacity behavior makes it easier to differentiate between the individual frames of your animation. The opacity gradient now ramps down linearly from the ghost closest to the current frame to the ghost farthest away. You can change the gradient using the Pre Frame Alpha and Post Frame Alpha options in the Attribute Editor. When used in combination with the Pre Frame Color and Post Frame Color, it's also easy to identify ghosts that are before and after the current frame. For more information, see Ghost an object.
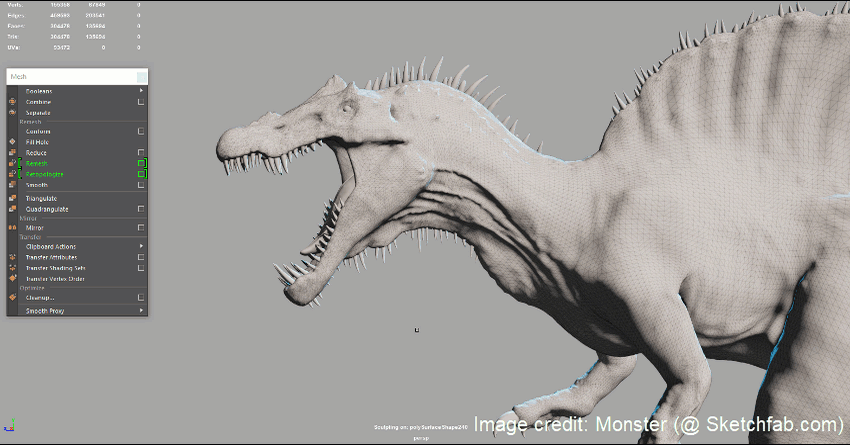
Polygon Remesh and Retopologize
Two new commands in the Mesh menu make it easy to fix or add topology to a selected mesh. Simply select components or an entire mesh and run a Remesh to add detail and evenly distribute edges over its surface, then run Retopologize on the surface to turn all its faces into quads. This can save you hours or even potentially days of painstaking manual modeling clean up. For more information, see Automatically retopologize a mesh.
Better audio management
Improvements have been made to working with audio in Maya.
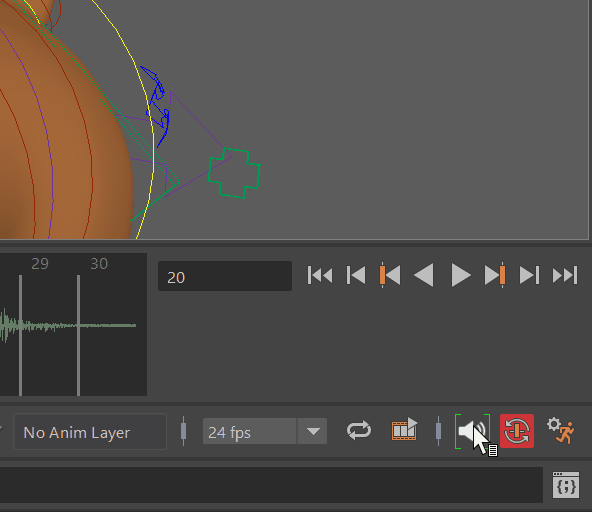
A new Volume icon has been added to the Playback options below the Time Slider to let you access Maya's audio levels directly from the Maya Time slider.
-
Click the Volume icon to display a slider to adjust the sound levels of the scene's audio file.
-
Double-click the Volume icon to mute the sound.
-
Right-click the Volume icon to access the Audio menu.
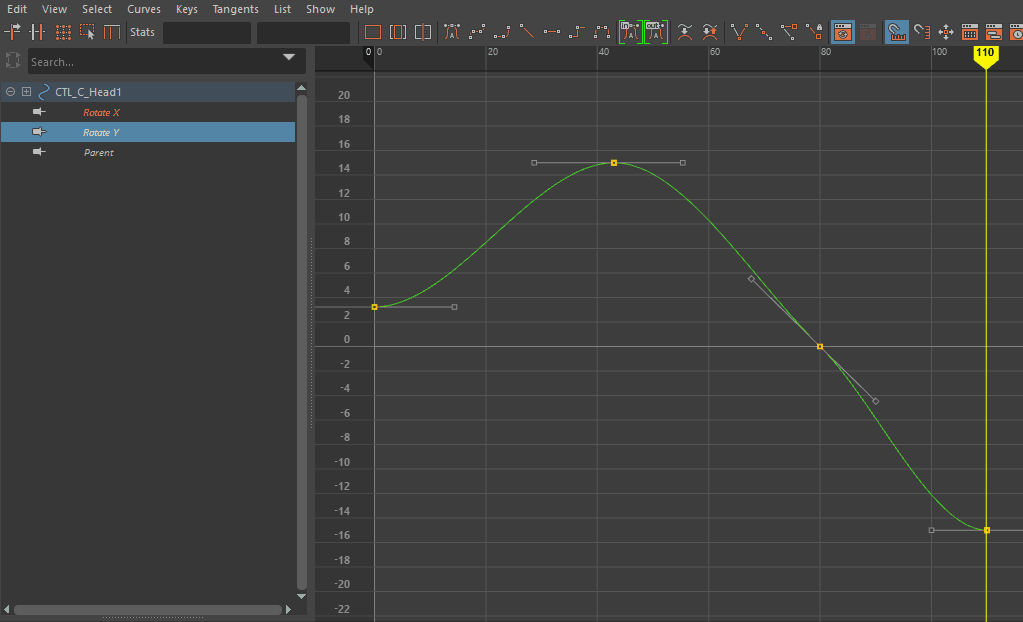
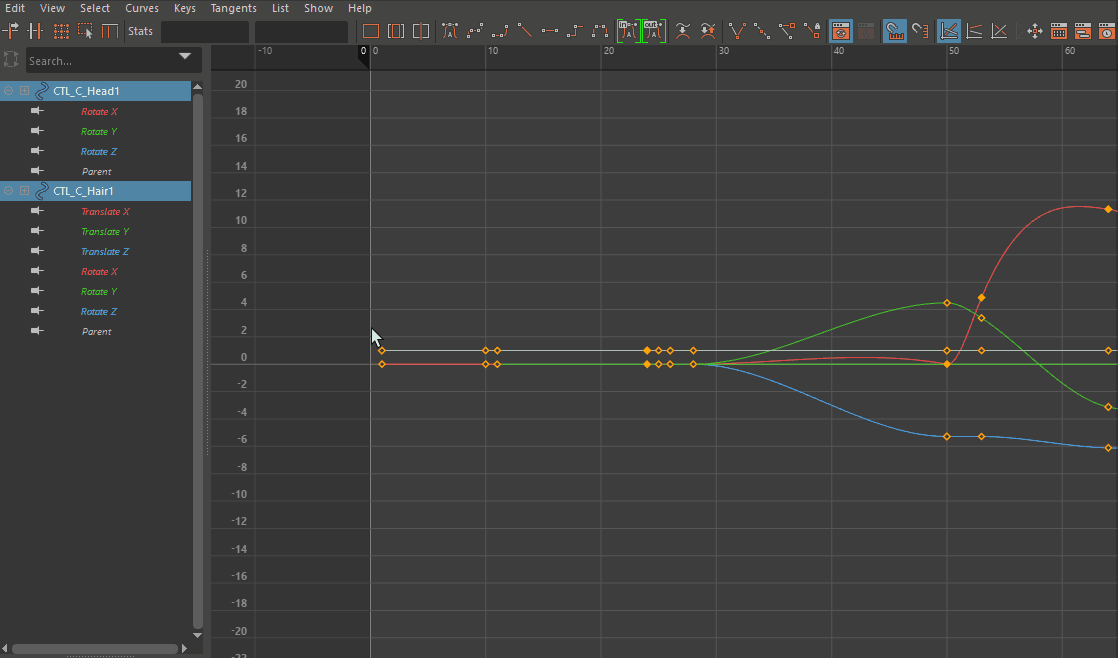
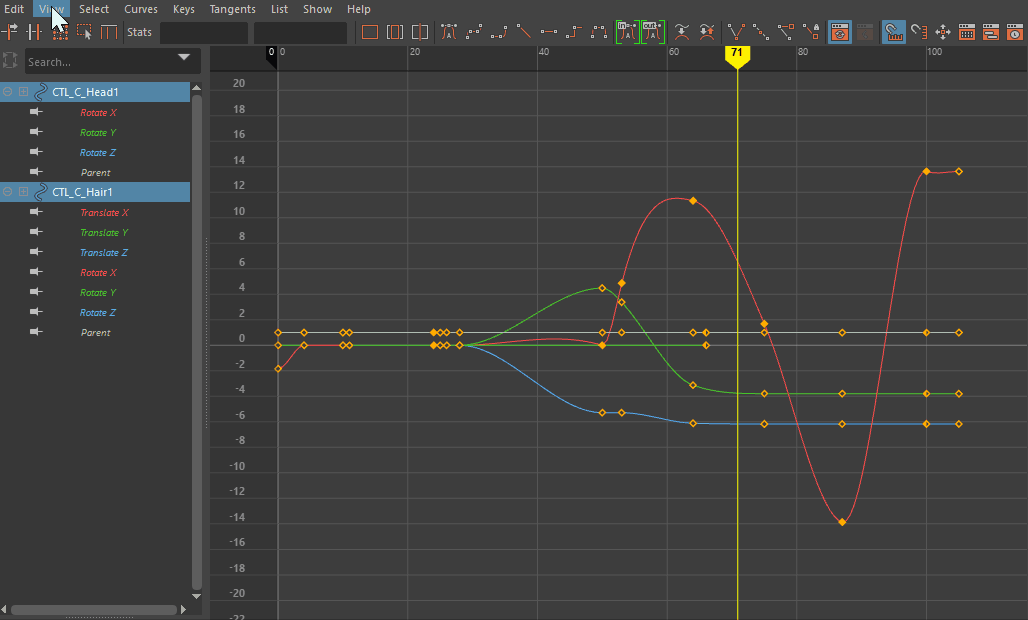
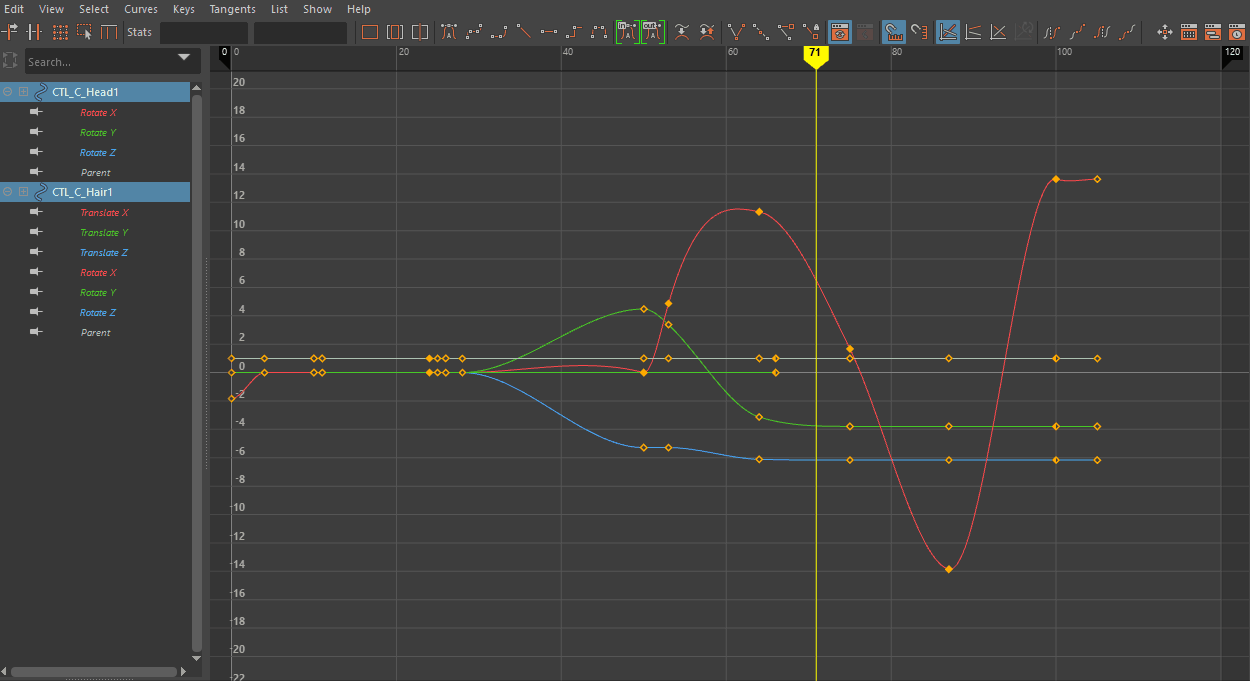
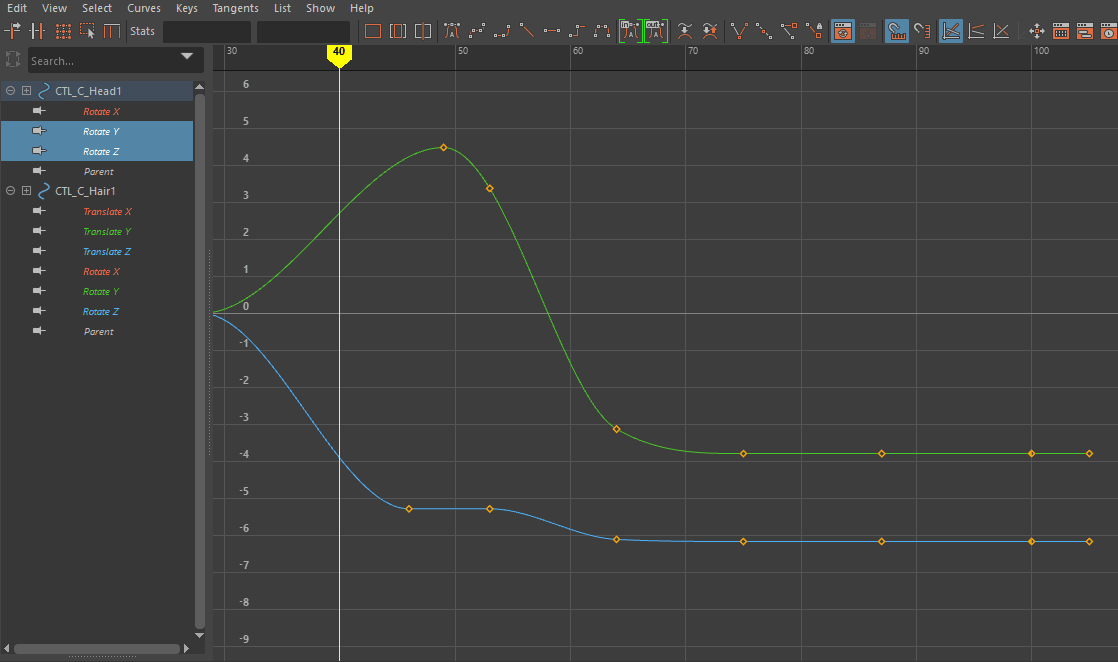
Graph Editor improvements
Tons of updates to the Graph Editor make it more customizable and intuitive in Maya 2020.
A new setting in the Time Slider Preferences, Loop play range when stepping frames and keys, lets you loop the Playback range instead of continuing through the entire animation. See Time Slider Preferences Loop play range when stepping frames and keys for more.
New Insert Keys option
A new
Preserve Tangent type option has been added to the Insert Key options in the
Graph Editor. To open it, select
Keys > Insert Keys Tool > in the
Graph Editor Keys menu.
in the
Graph Editor Keys menu.

By default, when using the Insert Keys tool (hotkey: Alt + i), new keys are created with 'fixed' tangents, and neighboring keys are fixed as well to respect the shape of the curve. The Preserve Tangent type option overrides this, and the tangent type of the new key respects the current in and out tangents and affects the shape of the curve. With the new setting, when you insert a key with auto as the tangent type, the tangents of the keys on either side are unchanged. This makes the Insert Key behavior the same as setting a key (hotkey: s).
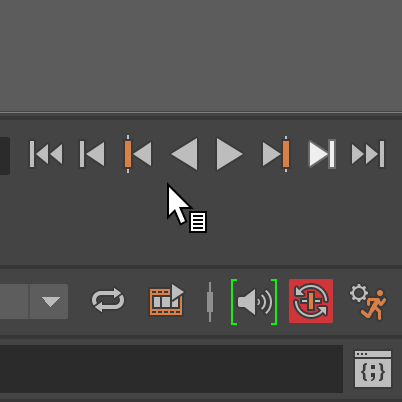
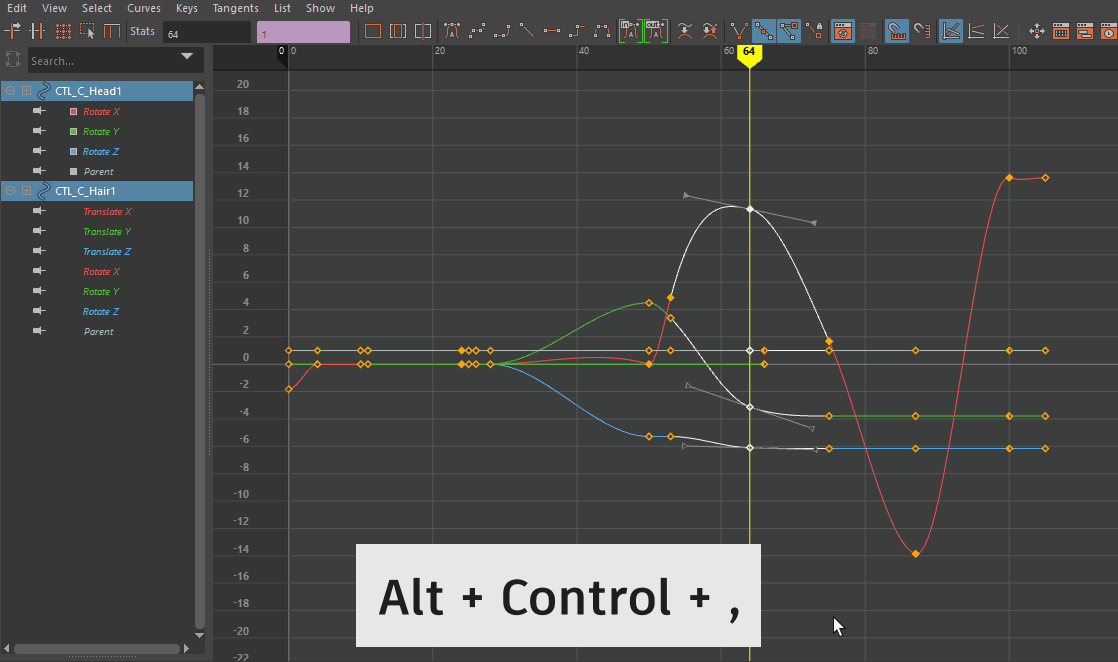
Graph Editor: Select previous and next key hotkeys
These new hotkeys let you scrub keyframe by keyframe, moving the selection to the left or right on the curve in the Graph Editor Graph View. Press Ctrl + Alt + , (comma) to move the selection to the previous key and Ctrl + Alt + . (period) to move the selection to the next key.
Quick access through menus
The Graph Editor menus have been updated to include commonly-used features:
- The Graph Editor Edit menu now contains links to the Animation (settings) Preferences and the Color Preferences windows, where you can customize the appearance of the Graph Editor.
- The Weighted tangents preference in the Animation (settings) Preferences is now called Default tangent weight, and has become a menu where you can switch between default tangent types. You can now also access Default tangent weight from the Graph Editor Curves menu as well.
- You can now set
Default In and
Out tangents directly from the
Graph Editor with two new icons on the
Graph Editor Toolbar. They also appear as menu options in the
Graph Editor Tangents menu, so you no longer need to go to the
Preferences window to change your settings. (These settings also still reside in the
Animation (settings) Preferences
Tangents section.)
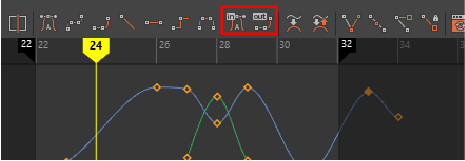
Default In and Out tangent icons on the Graph Editor toolbar
Modern Graph Editor Muted keys
The appearance of muted keys have been redesigned in the Modern Graph editor to better represent the fact that you can still edit curves while they are muted. This issue particularly affected Mac users.
Muted curves now resemble those in the Classic Graph Editor, appearing dimmer and muted keys now resemble regular keys.
Modern Graph Editor key and tangent visibility
A new option, Highlight Affected Curves has been added to the Modern Graph Editor View Menu to highlight the segments of curve affected by the selected key/tangent, similar to Classic Graph Editor selected key/tangent behavior. This will aid visibility, especially in scenes with dense animation.
Graph Editor color customization options
Six new Graph Editor elements have been added to the Color settings, letting you customize the color of the following elements:
- Locked Curve Color
- Locked Key Color
- Visibility
- Time Ruler Background (affects the time ruler's background color)
- Time Ruler Label (affects the frame numbers' color on the time ruler)
- Time Ruler Tick (affects the time ruler ticks' color)
- Clip Time Curve
- Play Range shades
You can read more about the Graph Editor default colors and what they signify in the Graph Editor colors topic.
Graph Editor Themes
You can easily customize the look and feel of the Graph Editor using new preset Themes. Simply select a Theme (View > Theme) to change the color and view settings in the editor all at once. You can also tweak existing themes by adjusting the preset color preferences, creating a customized workspace that supports your workflow. Themes can easily be exported and shared via a MEL script. See Graph Editor themes and Edit and export a Graph Editor theme.
Resizeable Keys
A new setting, Key Size, has been added to the Animation (Settings) Preferences so you can customize the size of the keys shown in the Graph Editor Graph view.

Automatic Time lines, Time line start
An improvement to the Modern Graph Editor is the addition of a feature for automatic Time lines in the Graph View that adjust based on the grid scaling, the same way as Graph Editor Value lines.
This setting is the new default. However, you can change it to Working units or Custom units in the Time line display menu in the Animation (settings) Preferences Guide Lines area.
Along with Automatic Time lines, a new option, Time line start has been added to the Animation (settings) Preferences Guide Lines area to let you set the start of the Time line display to a specific frame.
Time ruler placement
A new setting, Time ruler Placement, in the Graph Editor View menu, lets you position the Timeline at the bottom of the Graph View, like it is in the Classic Graph Editor. Positioning the Graph Editor Time ruler at the bottom lets you align it with the Time slider beneath.

Simplified Key View
A new feature, Key View, lets you switch between the default Detailed Key and new Simplified Key View, similar to the Classic Graph Editor display, has been added to the Modern Graph Editor to simplify the key and tangent view. This is useful when you are working with curves that have a large amount of data.
Simple Toolbar
The Simple Toolbar option, which previously existed only in the Classic Graph Editor View menu, has now been added to the Modern Graph Editor View menu so you can switch between the default and Simple toolbars.
The default toolbar has a full set of curve editing and display options, while the Simple toolbar is a streamlined version, with only select editing and display options, the same as in the Classic Graph Editor.
New area lights Normalize option
A new Normalize option for area lights lets you modify the size of the light without affecting the light intensity. This can be useful for adjusting shadows where you may want to change the light surface area without affecting the total amount of light emitted.
Resizeable Time Slider
You can now resize Maya's Time Slider the same way as other elements in the interface. Earlier versions of Maya had only three default sizes for the Time Slider, that had to be set in the Preferences window. The Time Slider height is saved with the workspace; the settings persist until you change the height again, or reset preferences. See also Customize the Time Slider.
Animation Hotkeys
Several new and improved hotkeys have been added to help you work faster.
New visibility hotkeys
You no longer need to go through menus to show or hide NURBS curves, polygon meshes, image planes, or wireframes. Four new Animation hotkeys let you toggle the visibility of these states on or off. Press Alt + 1 to toggle visibility of NURBS curves, Alt + 2 for polygon meshes, Alt + 4 for image planes, and Alt + 5 for wireframe/shaded.
Keyframe Tangent Marking Menu
While not a new menu, the Keyframe Tangent Marking Menu contains frequently used actions in the Graph Editor (available using Shift + s). What is new, is that it is now available for reassignment using the Hotkey editor, freeing up Shift + s for other hotkey assignments.

MotionBuilder-style X-ray toggle
Maya has borrowed Autodesk MotionBuilder's very useful hotkey toggle to switch between X-ray modes.
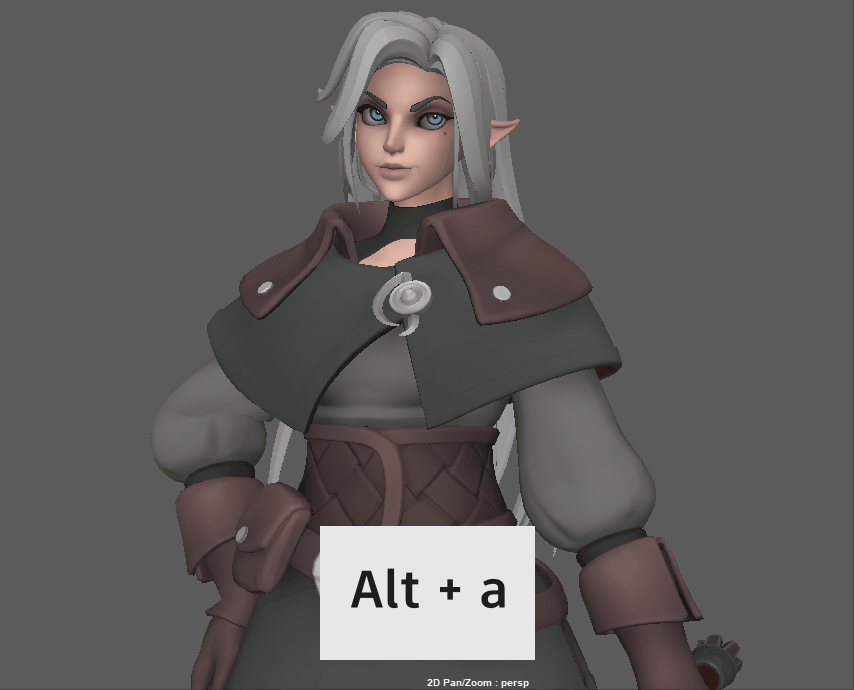
Press Alt + A to cycle through different X-ray modes
Cycle rig display mode is a shortcut that lets you press Alt + A to cycle between joints, controls, and character using the Cycle rig display mode hotkey. (You can also access these modes through the Shading Panel menu.)
Key Nudge hotkeys
Use these new hotkeys to move a selected key to the left or right by one frame in the Graph Editor Graph View without inserting a breakdown. Press Shift + 9 to push a key to the left and Shift + 0 to shift a key to the right.
What else is new?
UV Editor performance enhancements
The UV Editor has undergone an overall performance improvement. In addition, issues relating to redraws of dense meshes, preselection, selection, functionality, and various other concerns have been addressed.
New frame rate preference
A new option, Round Time Ranges to whole values, has been added to the Time Slider Preferences to let you avoid decimal values when changing frame rates. This setting is active by default so that Maya approximates to the nearest whole frame value whenever frame rates change.
New Time Editor Import option
A new option, Use Common Parent Transform has been added to the Add Animation to the Time Editor options to let you import animation into the Time Editor using the most common parent transform from the selected transforms by default.When this option is active, you don't need to select the hierarchy when dragging an asset into the Time Editor: the hierarchy is still included with the resulting clip. This is useful if you want to use relocators to apply transformation to the common parent rather than each transform in the clip.
Display long and short names in the Attribute Editor and Node Editor
Attribute Names options have been added to the Display menu in the Attribute Editor and Node Editor, where you can now display long and short attribute names.
New Substance 2.0 plug-in
Maya LT 2020 includes a new Substance 2.0 plug-in which provides new features that simplify the creating and editing of shading networks with substance textures.
For a list of features, visit http://www.autodesk.com/maya-substance-docs.
FBX version 2020
Maya LT 2020 picks up FBX 2020, which provides various bug fixes.
See the FBX Help for more information.
Improvements to Outliner performance
A new Interface Preference, Outliner, has been created to let you increase the speed when expanding or selecting objects in the Outliner. Previously, working with object sets that contain a large number of faces could become slow.
Activate the Outliner option in the Interface Preference to increase performance by limiting state change messages.
Environment variable now supports Core Profile (Compatibility) mode
Previously, the MAYA_VP2_DEVICE_OVERRIDE environment variable could only be set to DirectX 11, OpenGL - Legacy or OpenGL - Core Profile (Strict) modes.
You can now also set it to the OpenGL - Core Profile (Compatibility) mode.
Read Maya.env from a custom location
Set the MAYA_ENV_DIR environment variable to a custom location so that the Maya.env file is always read from this folder.
OpenEXR format now supported for image planes with a depth channel
You can now include depth information in your image plane using an .exr with a depth channel.
Customize splitter cursor sensitivity

If you find the splitter cursor activation distracting when your cursor passes over a window, decrease its sensitivity by reducing the values in the following OptionVar:
optionVar -iv "splitterHandleMargin" 3Likewise, if you want to increase the reactiveness of the splitter cursor, because the splitter cursor activation is not responsive enough, set a greater value.
The default setting is 3, the maximum is 8.