Learn how to create a structural axis as the basis for the column grid and how to add stories for the levels of the building.
- Start a new project using the Building Design Template.
- Click Tools >
 (Preferences…).
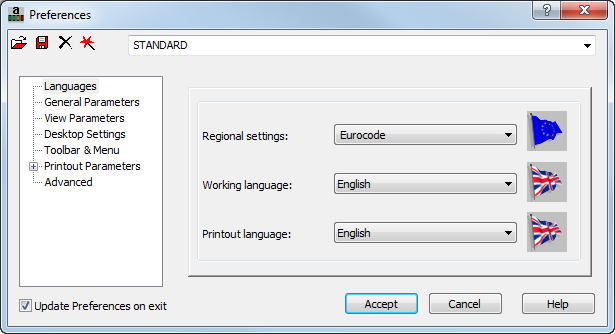
 - In the Preferences dialog, in the Languages area, set the Regional settings to Eurocode, as shown below.
- Click , and then select Metric as the default units system.
- In the Menu Bar, select Geometry >
 (Axis Definition…).
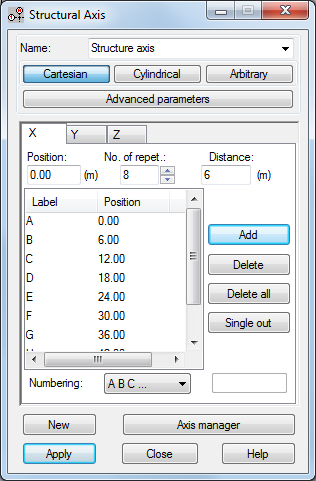
 - In the Structural Axis dialog box, on the X tab, set the Position to 0, No. of repet. to 8, Distance to 6 (m) and Numbering to A B C… and then click Add.
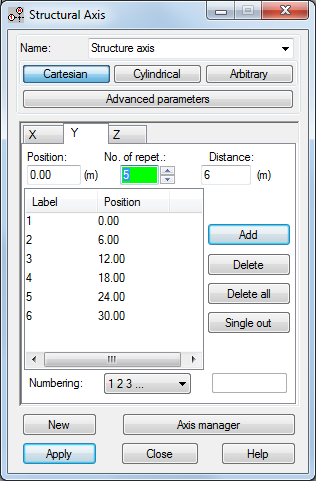
- On the Y tab, set the Position to 0, No. of repet. to 5, Distance to 6, and Numbering to 1 2 3… and then click Add.
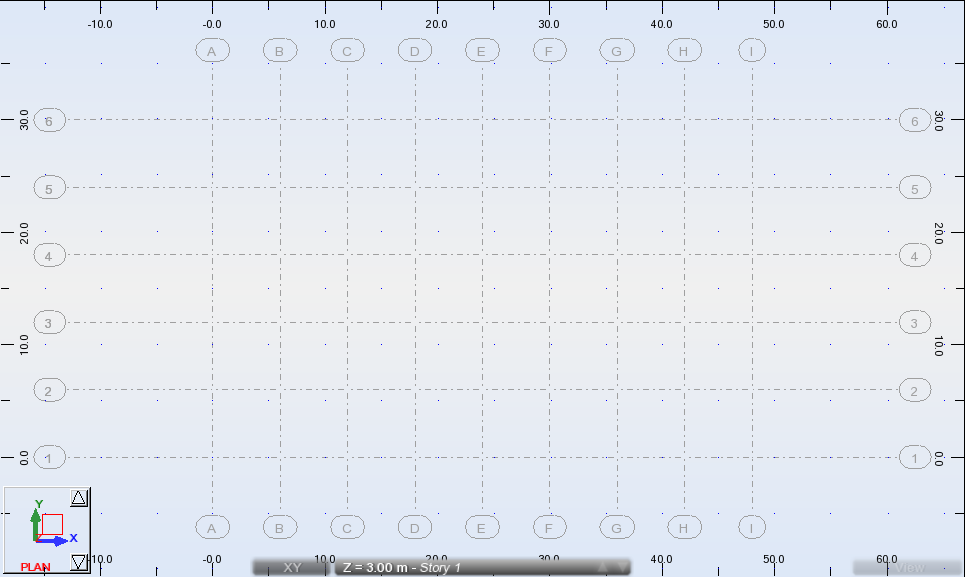
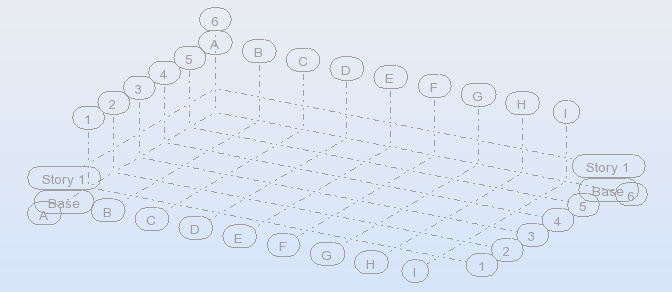
- Click Apply and close the dialog box. The new axis displays as shown below.
- In the view window, click the View tab to change to the 3D view. By default, there are Base and Story 1 levels as shown below.
- In the Menu Bar, click Geometry > Stories >
 (Stories…).
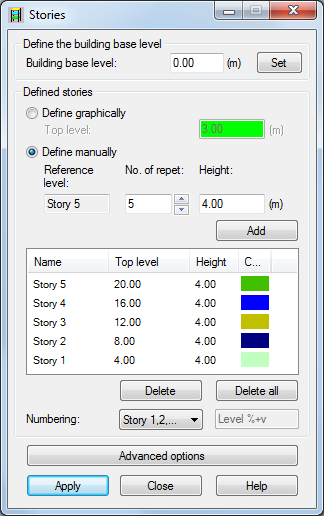
 - In the Stories dialog box, select Define manually.
- Select the existing Story 1 and click Delete. The Reference level reverts to 0.
- Set the No. of repet. to 5, the Height to 4, and the Numbering to Story 1,2,… (as shown below) and then click Add.
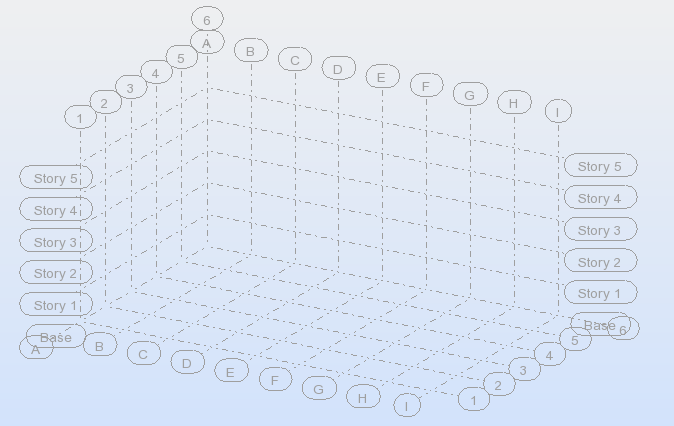
- Click Apply and then close the dialog box. The stories display as shown below.
- Save the project as Structure-Seismic.rtd.