Learn how to copy the 2D frame to generate a 3D frame.
- Continue working in your project or open the project Frame_3D_Model2D.rtd.
Note: The Tutorial files are located in C:\ProgramData\Autodesk\Examples\Tutorials.
- In the Standard toolbar, expand the Layouts drop-down menu and select Start as shown below.
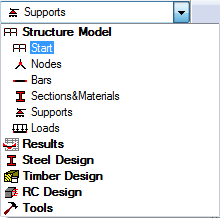
The layout updates to its initial state.
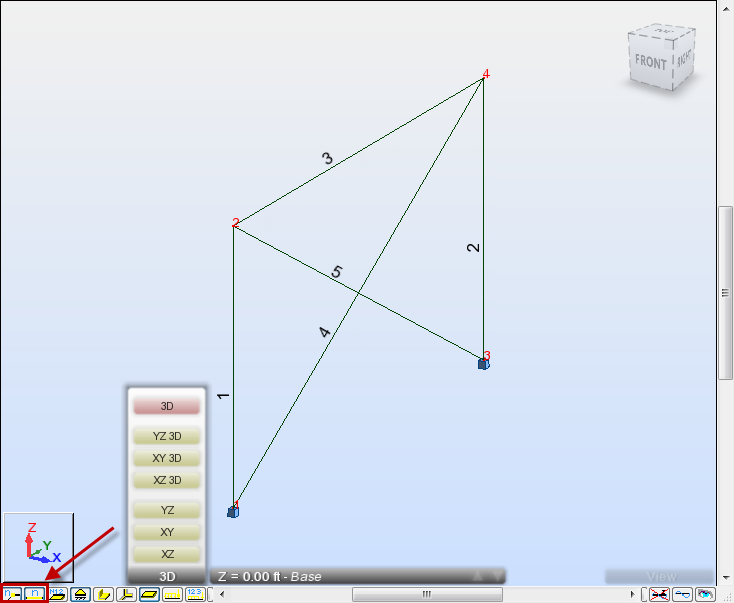
- At the bottom of the drawing area, expand the list of views, and then select the 3D view.
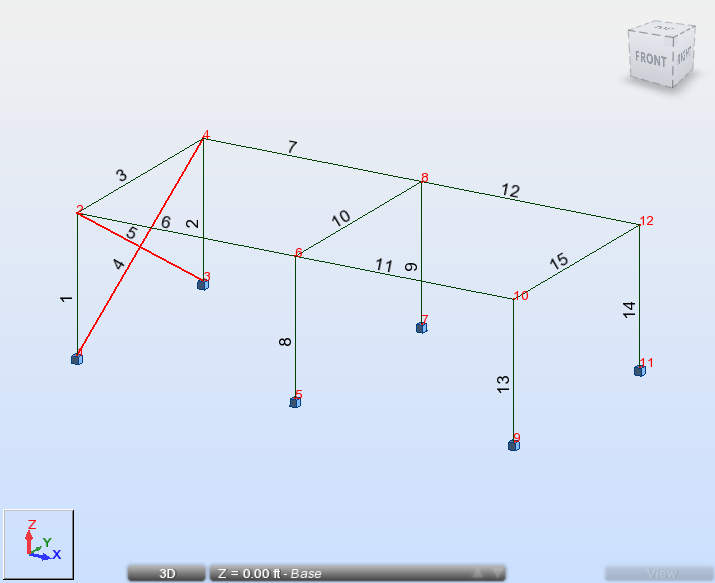
The frame is displayed as shown below:
 Note: If you don't see the bars and nodes numbers, click
 and
and  at the bottom left of the drawing area to display them.
 - Click
 (Geometry
  Properties Sections).
The Section dialog opens.
- Select the HP 12x63 section. We will use this type of section to add new beams which will be created automatically during copying.
- Click Close.
- In the Node Selection box
 of the Selection toolbar, enter the beam's node numbers separated by a space as follows: "2 4", and then press Enter. Selected nodes are highlighted in green.
 - In the Bar Selection box
 of the Selection toolbar, enter the columns' and beam's numbers separated by a space as follows: "1 2 3", and then press Enter. Selected bars and nodes are highlighted on the screen as shown below.
- Click Edit Edit Move/Copy…
The Translation dialog opens.
- In the Translation dialog:
- Enter "20, 0, 0" in the Translation vector box,
- Select the Drag option in order to create additional linking elements between the existing nodes and the new nodes created during copying,
- Enter 2 in the Number of repetitions box.
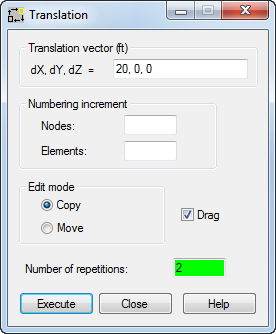
- Click Execute and close the Translation dialog.
- Click
 (View Zoom Zoom All) to display the whole structure.
The 3D frame structure is displayed.
 Note: In this structure, beams number 6, 7, 11 and 12 were created automatically by the Drag option.
 - In the drawing area, select the bracing's number 4 and 5. To do this, select a bracing, then hold the Ctrl key and select the other bracing.
Selected bracings are highlighted as shown below.
- Click Edit Edit Move/Copy…
The Translation dialog opens.
- In the Translation dialog:
- Enter "40, 0, 0" in the Translation vector box,
- Enter 1 in the Number of repetitions box.
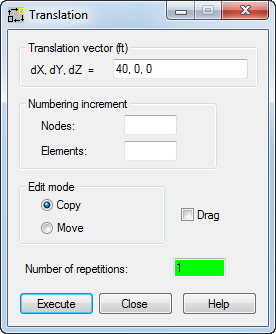
- Click Execute, and then close the Translation dialog.
The structure looks as follows:
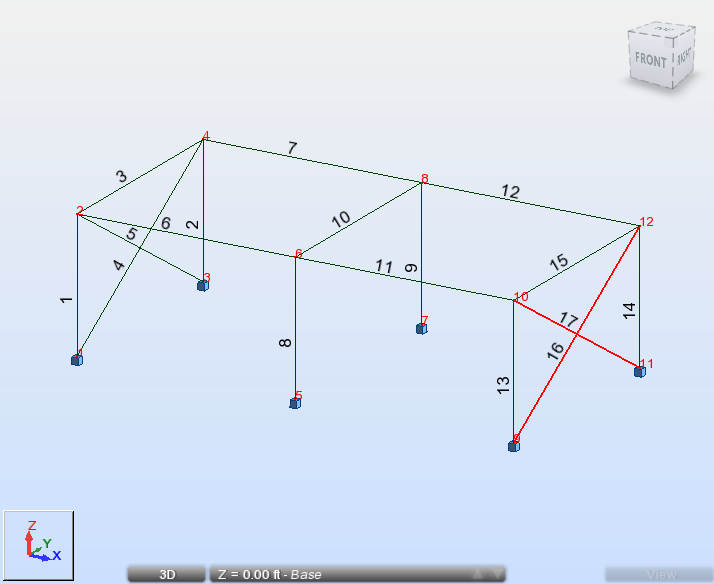
- Click in the drawing area to deselect the bracing's number 16 and 17.
- Save the project as Frame_3D_Model3D.rtd.
Click here to go to the Summary.