See the steps to install the Autodesk Steel Connections package.
Installing this package is required for placing steel connections using Dynamo.
To install the Dynamo package:
- Click Manage tab
 Visual Programming panel
  Dynamo.
- In Dynamo, go to Packages
 Search for a Package...
- In the search bar, type "Autodesk Steel Connections". After a few moments, you should see all of the packages which match this search query. Select the first package with the matching name.
- Click the
 (Install latest version) button to install the package.
Note: Notice that you now have another group in our Dynamo library called "Autodesk Steel Connections". You can begin to use this right away.
To install an updated version of the Dynamo package:
- Uninstall the existing installed package.
- Restart Revit.
- Install the new package as described above.
To use the steel connections sample scripts:
- After you have installed the package, click Manage tab
 Visual Programming panel
  Dynamo.
- In Dynamo, go to Packages
 Manage Packages...
- In the Installed Packages window, click
 , next to the package name.
- Select Show Root Directory from the menu.
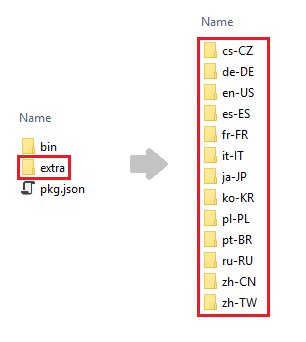
Note: This will open a folder in the Windows Explorer, where you should see the folders in the package. You can find the sample scripts, for each language, in the "extra" folder
 Connections folder
  <language - FOLDER>:

- Close the Windows Explorer and the Installed Packages window.
- Click Manage tab
 Visual Programming panel
  Dynamo Player.
- In the Dynamo Player dialog, click
 (Browse to folder).
- In the Browse to Folder dialog, navigate to a directory containing Dynamo scripts.
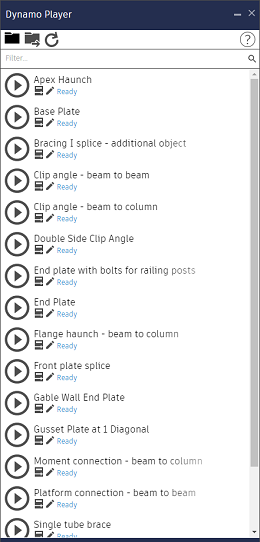
The list of steel connections sample scripts will appear in Dynamo Player:

