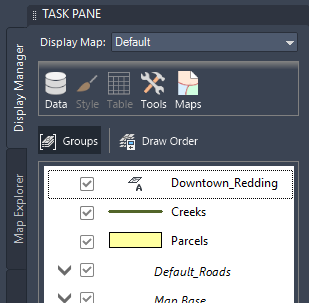
You create a text layer in the Display Manager, much the same way as you create a drawing layer.
Note:
This exercise uses the map you edited in Lesson 2: Add Labels to Features.
To create a text layer
- Open the map you edited and saved in the previous exercises.
You used Save As to save the map with a new name.
- In the Task Pane, switch to Display Manager, if it is not already displayed.
- In the Display Manager, click Data
 New Text Layer.
Create a text layer from the Display Manager.
- In the Choose Spatial Database File dialog box, enter a name and location for the SDF file to store the layer information. Click Save.
Call the text layer "Downtown Redding Text."
- In the Specify Coordinate System dialog box, set the coordinate system for the layer to CA-I. Click OK.
The new text layer is added to the Display Manager. The default layer name is Annotation.
- To rename the layer, select it, and then click its current name. Enter a new name, for example "Downtown Redding."

Rename the text layer.
To continue this tutorial, go to Exercise 2: Style the text layer.