Each flow in Populate has two portals—one at either end—from which people emerge. By default, the settings such as speed of movement are the same for both portals. However, you can use different settings for each portal if you wish. This example shows how to have more people emerging from the second portal while moving more slowly.
- Start or reset 3ds Max and zoom the Perspective viewport out so the grid is very small.

- Open the ribbon to the Populate tab and click to turn on
 (Create Flow).
 - Click twice to create a single straight flow.

- Right-click to create only a single flow segment, then right-click again to end flow creation.
- Go to the
 Modify panel. On the Flow rollout, click to turn off Link Portals.
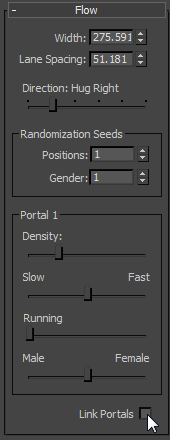
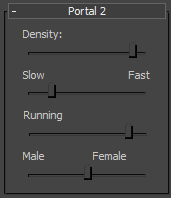
The label on the main Flow rollout changes to indicate that this group controls Portal 1. Controls on the Portal 2 rollout are now available, too.
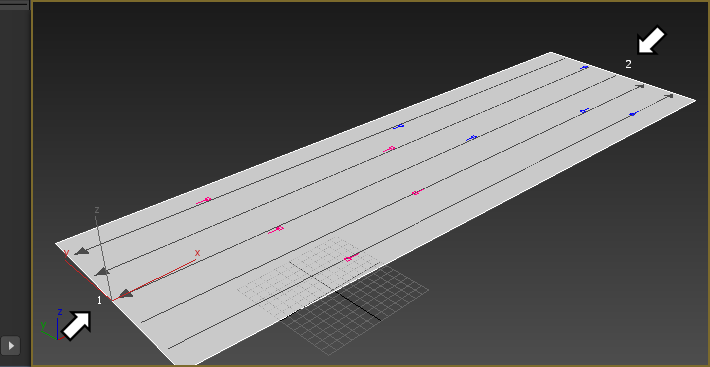
In addition, numbers appear in the viewports to show which portal is which:
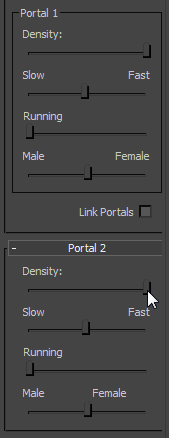
- In both Portal groups, drag the Density slider all the way to the right (full Density).
- In the Flow rollout
 Portal 1 group, drag the Slow/Fast slider all the way to the left.
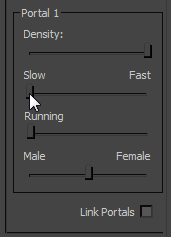
- On the Portal 2 rollout, drag the Running slider all the way to the right.
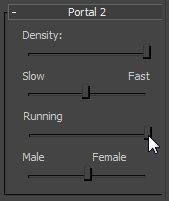
- On the Simulate panel, click
 .
. 3ds Max shows a progress bar while the simulation calculates.

- When the simulation is done,
 play the animation.
 Pedestrians on the right, from Portal 1, all walk slowly. Pedestrians on the left, from Portal 2, run at various speeds.
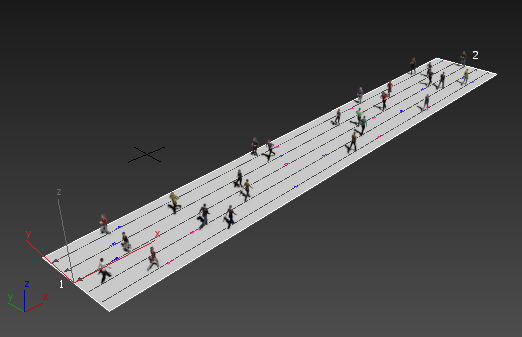
You can try varying other settings between portals: for example, the Density or the Male/Female ratio.