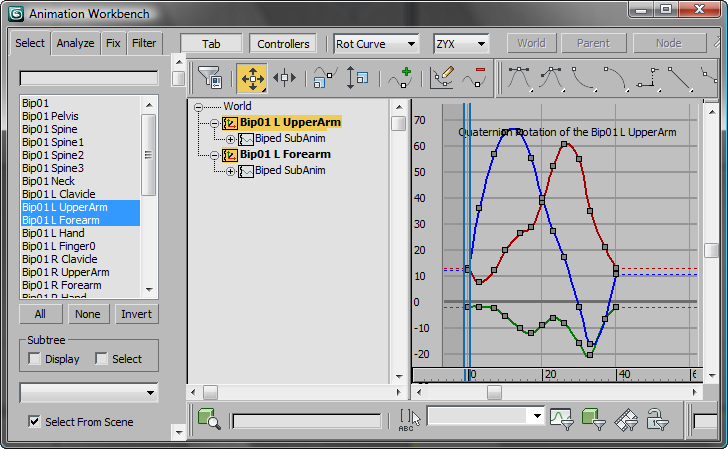
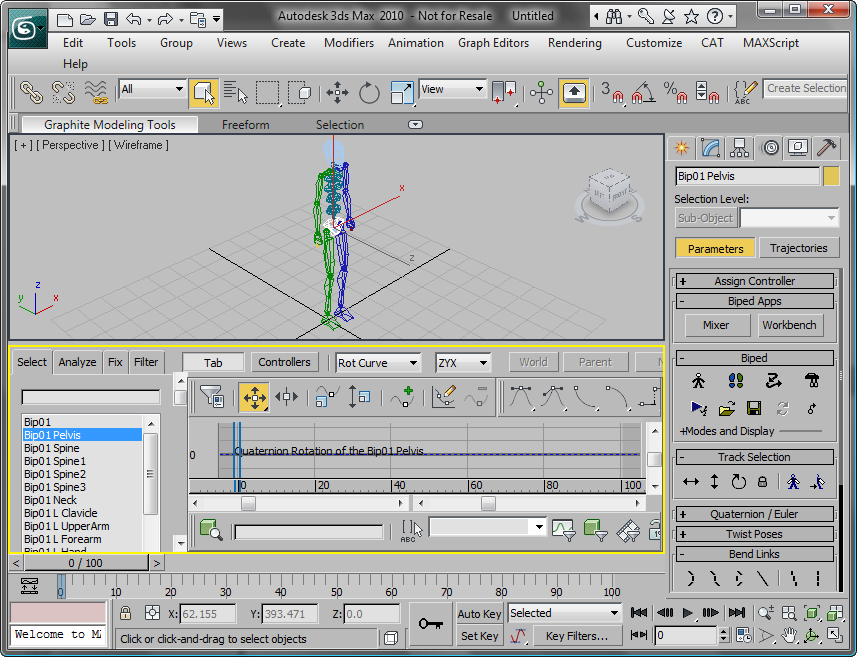
The Animation Workbench, a customized version of Track View, uses some of the standard Track View controls, and adds new ones of its own.
The areas of the Workbench interface include:
- The Tab panels: Select, Analyze, Fix, and Filter
- The Curve view, with Track View toolbars for key selection, manipulation, and view navigation.
- The Workbench toolbar, with tools for choosing Coordinate space, display of sub-animations, and tools to hide the Tab area and controller list.
Each section of the Workbench User has specific navigation techniques.
Navigating the Tab Panel

Simply click the tabs to move from one panel to another. The tools displayed change with each panel. The overall workflow is left to right for the tabs, and top to bottom within each panel. Selections are displayed in lists: clicking a name in a list selects that entry. Operations are usually performed by clicking a button at the bottom of the panel.
Displaying the Controller List
Click the Controllers button in the Workbench toolbar to display the Controller List. When the controller list is displayed you can select multiple tracks as you like, right-click them and assign controllers using the pop-up menu. You can also get to properties for controllers such as Noise that don't have keyframes.
![]() Click the Controllers button in the Workbench toolbar to display the embedded curve editor's Controller window. The biped body tracks shown are in the list are the ones that are selected in the Select panel, in addition to any scene objects that are attached to those body parts or are used as IK objects for those body parts. The controller list is similar to the one in the curve editor.
Click the Controllers button in the Workbench toolbar to display the embedded curve editor's Controller window. The biped body tracks shown are in the list are the ones that are selected in the Select panel, in addition to any scene objects that are attached to those body parts or are used as IK objects for those body parts. The controller list is similar to the one in the curve editor.

Controller list displayed
Navigating the Curve View
Use the standard 3ds Max Track View navigation tools to adjust the view of curves in the Curve view window. Zoom, Zoom Extents Horizontal and Vertical, and Pan are often used to get a better view of an entire curve, or a portion of a curve. As a default, the curve view automatically displays the curve of whatever biped object is selected in the viewport.
The Workbench window can be resized to make it easier to work with curves. You can float or hide toolbars to give you even more room. You can dock toolbars left and right as well.
Docking the Workbench
You can dock the Workbench in a viewport. With the Workbench open, click or right-click the Point-Of-View viewport label, then from the POV viewport label menu choose Extended Viewports  Biped AnimationWorkbench. The open workbench docks in the viewport.

Show Layered Edit
![]() You can affect a layered range of keys by turning on Show Layered Edit. This is a special Workbench mode that extends the edit to affect keys surrounding the one you are editing. It works like soft selection in 3ds Max but gives you greater control over the displacement. It can help you blend your edits into existing motion.
You can affect a layered range of keys by turning on Show Layered Edit. This is a special Workbench mode that extends the edit to affect keys surrounding the one you are editing. It works like soft selection in 3ds Max but gives you greater control over the displacement. It can help you blend your edits into existing motion.