In this lesson, you will create the basic geometry of the model, then create an array of objects that you will use in a Boolean subtraction operation to create a set of floors in the building midsection.
Set up the lesson:
- Click
, navigate to the
\scenes\modeling\highrise
folder, and open
building2_start.max.
Alternatively, continue working on your completed scene from the “Modeling Buildings Using Modifiers” tutorial.
Note: If a dialog asks whether you want to use the scene’s Gamma And LUT settings, accept the scene Gamma settings, and click OK. If a dialog asks whether to use the scene’s units, accept the scene units, and click OK.
Create the floors for the building:
- If the Perspective viewport is not already maximized, press Alt+W to maximize it.
- Use
 (Select And Move) to select the three objects that comprise the architectural model and move them to the right on the
Ground object.
- On the
 Create panel, activate
 (Geometry), then on the Object Type rollout, click to activate Box.
- At the center of the ground object, click and drag diagonally to set the width and depth of the box. Release the mouse button and drag upwards to set the height. Click a final time complete the box.
Do not worry about dragging the box to an exact width, depth, or height. You set these values in the next step.
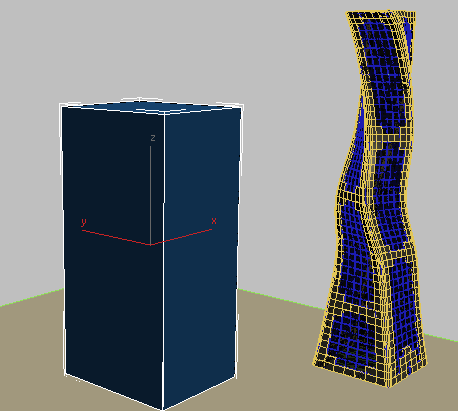
- On the
 Modify panel
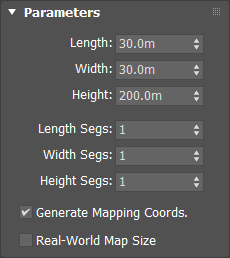
  Parameters rollout, set the parameters of the box as follows:
- Length = 30.0m
- Width = 30.0m
- Height = 200.0m
Make sure the Length Segs, Width Segs, and Height Segs fields are all set to 1 (the default).
Now that you have defined the footprint of your tower model, you are ready to define the floors in the mid-section of the structure.
- Press
Alt+W to see all four viewports, and in the Top viewport,
 zoom in to the top of the
Box001 object (the tower object you just created).
- Go to the
 Create panel, activate
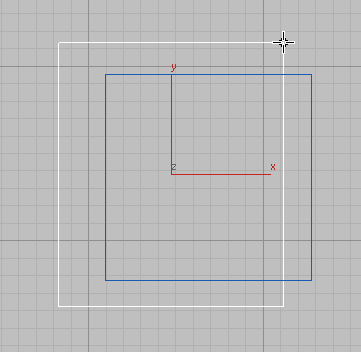
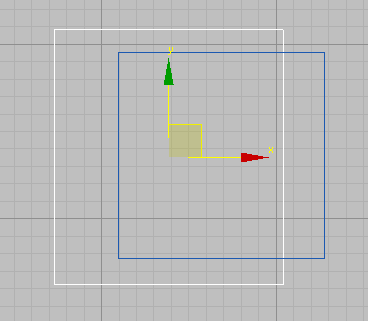
 (Geometry), then drag out a second box so that it is larger on three sides than the
Box001 object, as shown in the next illustration.
The height of the box object is not important.
-
This object, Box002, will be used to define the tower floors. You now need to align its right side with the right side of the tower object.
- With the
Box002 object selected, click
 (Align), then click the
Box001 object.
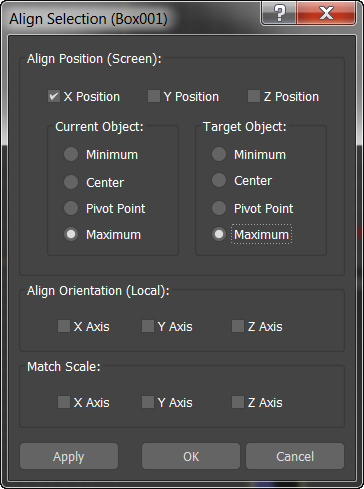
- In the Align Selection dialog
 Align Position group, turn on X Position and turn off Y Position and Z Position, so that only the left-right positioning of the two objects is set for alignment.
- In the Current Object group, choose Maximum and in the Target Object group choose Maximum as well. (Choosing Minimum for both Current and Target objects would align the two boxes on their left sides.) Click OK.
- Next, you need to
 move the aligned side of
Box002 to the left by six meters. To do so, you should first switch the coordinate display from absolute values to local values. Absolute values display the scene in world space, a universal coordinate system for all objects in the scene. World space is constant and immovable. Local values use the coordinate system of the selected object.
On the status bar, click
 (Absolute Mode Transform Type-In) to switch the display from Absolute Mode Transform to Offset Mode Transform
 .
.
In Offset Mode, the XYZ coordinate values reset to local values. Initially, each equals 0.
- Select the
Box002 object, then type
–6 in the X coordinate display box and press
Enter.
3ds Max moves the box six meters to the left.
- On the
 Modify panel
  Parameters rollout, set the height of the box to
3.0m, the standard height for a typical floor of a building.
- You want the first floor to start at an elevation of 40 meters, so in the Z coordinates display box, type
40. This will become the first floor of a total of 15 that will form the midsection of the model.
Now you will create an array of boxes that you will use later in a Boolean operation to create all floors above the current one.
- Right-click the Perspective viewport, press
Alt+W to maximize it, and from the main menu, choose Tools
 Array.
Tip: In the Array dialog
 Preview group, turn on the Preview button before you adjust array parameters. That way, you can see a preview of the array in the viewport.
- In the Array dialog
 Array Dimensions group, type
16 in the 1D Count field.
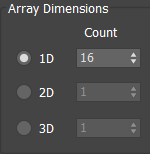
This creates an array of 16 objects to be spread out in one dimension. You want to build your array vertically.
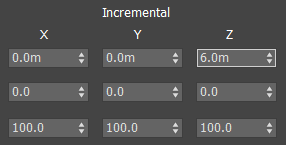
- In the Array Transformation World Coordinates group
 Incremental column go to the Move row, find the Z-axis spinner, and type
6.0.
-
A distance of six meters in Z space is inserted between each object in the array. This corresponds to the height differential you want to establish between each floor in the building.
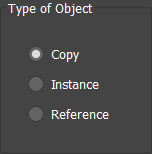
- In the Type Of Object group, choose Copy. Use Copy instead of Instance because one of the array objects will be resized to a height different to the others.
- Click OK to create the array.
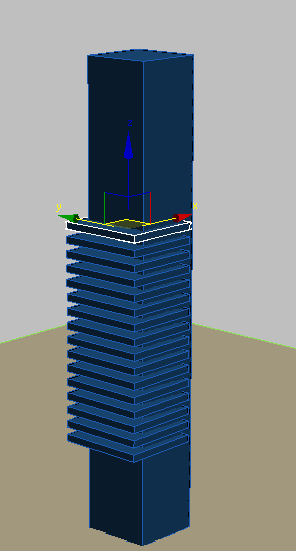
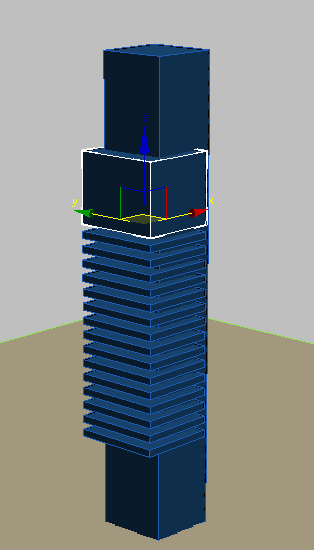
- The top array object is already selected and ready for editing. On the Parameters rollout, set Height to
30.0m. In the next lesson, you use this box to create a gap in the top segment of the tower.
Save your work:
- Save the scene as my_building2_begin.max.