This lesson uses the Crease setting of the Editable Poly object in conjunction with the OpenSubdiv modifier to complete the helmet's basic shape.
Set up the scene:
- Continue working on your scene or open the scene helmet_02.max.
- If you opened the new file,
 select the helmet, and make sure the
 Modify panel is active.
Select edges and set Crease values:
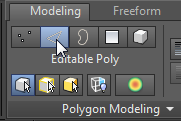
- On the Polygon Modeling panel, activate
 (Edge) to go to the Edge sub-object level.
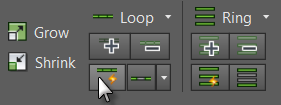
- On the Modify Selection panel of the ribbon, click Loop Mode to turn it on.
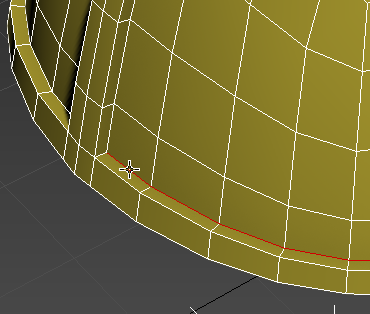
- In the Perspective viewport, click one of the inside-corner edges of the extruded rim.
This selects all edges on the loop.
- Ctrl+click one of the inside-corner edges of the extruded ridge.
This adds the edge's loop to the selection.
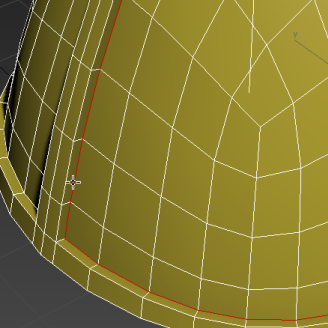
- Do the same for the equivalent edge loops on the other side of the helmet.
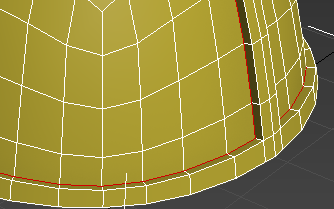
- On the Edit Edges rollout of the Modify panel, set Crease to
1.0.

- Apply the OpenSubdiv modifier and, if necessary, press
F4 to turn off Edged Faces display.
The inner edge of the extruded polygons is sharper, but it could be more clearly delineated.
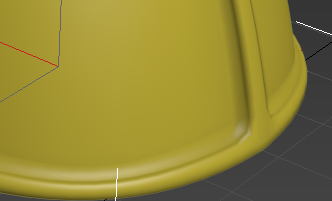
The way to do this is to increase the OpenSubdiv Iterations value.
- On the General Controls rollout of the OpenSubdiv modifier, click the spinner up-arrow of the Iterations setting.
The value changes to 2 and the crease becomes a bit sharper. This is because the added resolution allows better definition of fine details such as corners.
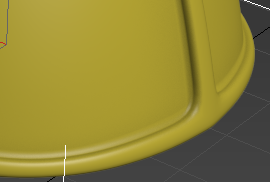
- Increase the Iterations value to
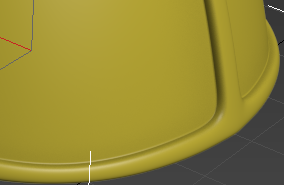
4.
The crease is now sharp enough. In general, when using OpenSubdiv, use the lowest practical Iterations value to avoid overly complex meshes.
- Press F4 to re-enabled Edged Faces display, and delete the OpenSubdiv modifier again.
Save your work:
- Save your scene file as my_helmet_03.