All the modifications made in the defaults library can be saved in a new profile that can be used in other projects. Multiple profiles can be created and customized depending on the project type. A specific profile can be selected and used from the beginning of a new project.
The default library from Management Tools contains by default the Advance Steel profile, displayed in the upper right corner of the Defaults window.
To add a new profile:
- Open the Management Tools: Home
 Settings
 (Management Tools).
 - Select the Defaults category.
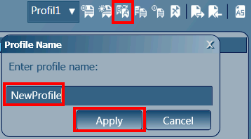
- On the toolbar, click New profile.
- In the Profile name dialog box, enter the desired name. Note: The entered name cannot contain spaces or special characters such as "\".
- Click Apply.
The profile is automatically activated. Any modification of the defaults can be done for it.

Additional tools for managing profiles
- To choose another profile or return to the initial one, use the Selected profile drop-down list.

- To activate the new profile as the current one, use the Set selection as current profile option.

- To rename a profile, use the Rename profile option. Enter the desired name in the dialog box and click Apply to validate the modification.

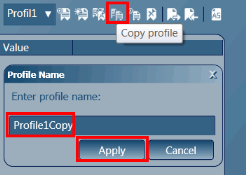
- To copy a profile, use the Copy profile option. Enter the desired name in the dialog box and click Apply to validate the input. The new copied profile becomes active and contains the defaults of the copied profile.

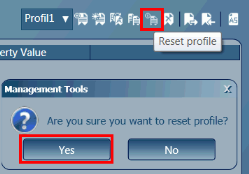
- To reset the selected profile, use the Reset profile option.

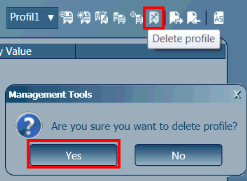
- To delete a profile, use the Delete profile option.
