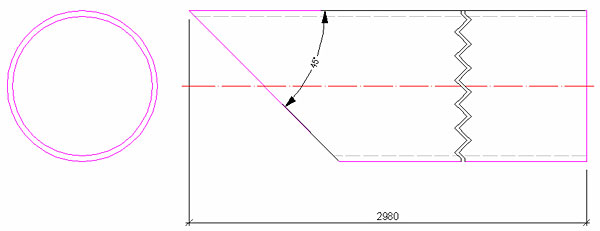
Note: The answer is referring to version 2016. This information may differ on other versions.
You can add on an existing drawing (general arrangement drawings, single part shop drawings, assemblies etc.) an angle dimension for the dimensioning of: sloped profiles, profile sections, drawings intersections etc.
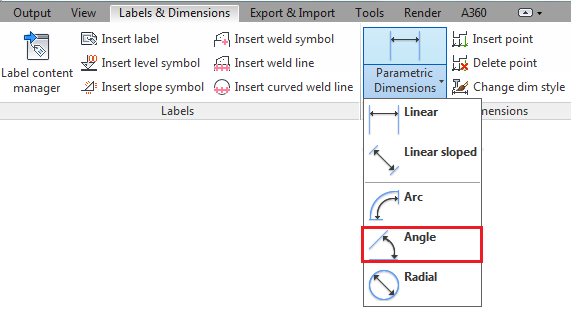
To display the value of an angle on a drawing, use the Dimension angle tool on the Label & Dimensions tab.
In the example below you will add an angle dimension representing the section of a tube.
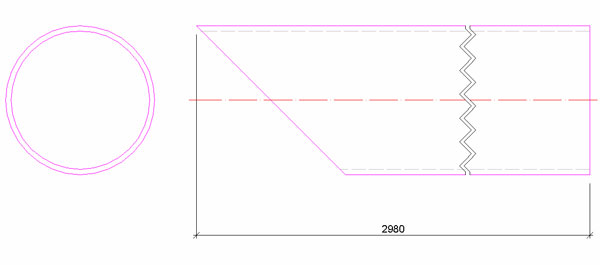
Adding the angle dimension requires the following steps:
- Selecting a view: Click on the desired view to add the dimension angle.

- Starting point "0" of the line: Select the origin point of the dimension angle, forming the intersection of the two lines.
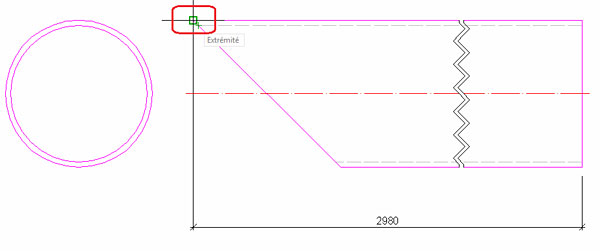
- End point "0" of the line: Select a point situated on one of the lines forming the angle.
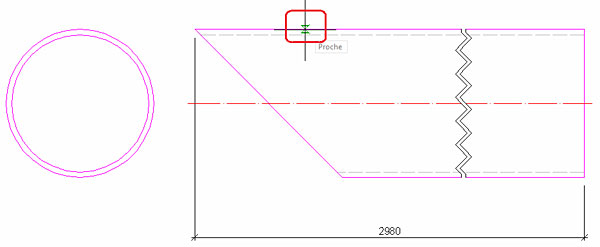
- Placement point of the dimension line: Select a point that will correspond to the position of the angle information.
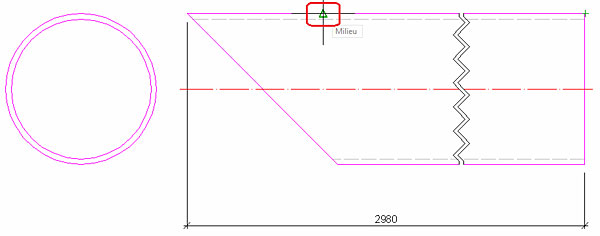
- First point for the second line: Select a point situated on the second line forming the angle.

- Press Enter twice to close the command. You will obtain the angle dimension.
