Dynamo is a visual programming platform that you can use to create custom algorithms to process data and generate geometry. Dynamo integration is available in Alias Concept, Alias Surface, and Alias AutoStudio only.
You can use Dynamo's environment to create a script that can create and modify Alias geometry. After creating a script, you can run the script directly in Alias using Dynamo Player. Dynamo Player lets you leverage the power of Dynamo without knowing how to create and edit scripts (see About Dynamo Player).
Before you start
If the 3D preview in Dynamo does not work (the scene has a 2D grid and the Background 3D preview option is not available), try the following:
- Install the version of DirectX available on the Alias Sample Files page. Download the Direct3D_Installer_for_Dynamo.exe file, run it and follow the prompts to install DirectX.
- If you have an NVIDIA graphics card, manage the 3D settings and change the Global Preset to the Base Profile, or for Alias, select High-performance NVIDIA Processor as the preferred graphics processor.
- If your machine has switchable graphics, try the solutions provided here: Background 3D preview is grayed out in Dynamo 1.3.2.
The following sections provide information about Alias-Dynamo:
Alias-Dynamo sample files
Basic Alias-Dynamo workflow
Dynamo learning resources
Tutorials
Alias-Dynamo sample files
We've provided some sample files to help you learn how to use Dynamo with Alias.
Download the sample files and extract the Alias-Dynamo Sample Files folder.
Each folder contains the wire files and scripts for the following examples:
- Graphic Patterning
- Grille
- ID Patterns
- Light Cans
- Parametric Pattern
- Webinar Demo
- Wheel
Work with the sample files
-
In Alias, open the wire file with history in the project wire folder (the file name includes _With_History).
-
Choose Object Edit > Query Edit.
-
Click the surface that has generated components.
Dynamo opens the script connected to the wire file.
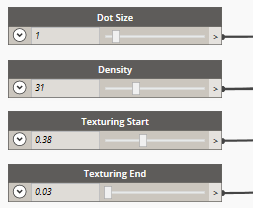
The sample files include sliders that you can use to explore different values. For example, the 02_Wheel_Texure.dyn file associated with the Wheel_With_History.wire file includes the following sliders.

-
Drag the sliders to change the values and update the wire file.
Note:The wire file may take some time to update.
Basic Alias-Dynamo workflow
-
In Alias, create the geometry you want to work with.
Note:Selecting Alias geometry before launching Dynamo is optional. You can the select geometry you want to work with later in the workflow. This would be case if you wanted to use geometry or components that are organized in selection sets. See step 7 below.
-
In the Transform tool palette, select Dynamo
 .
. The Dynamo option box opens and Dynamo launches.
-
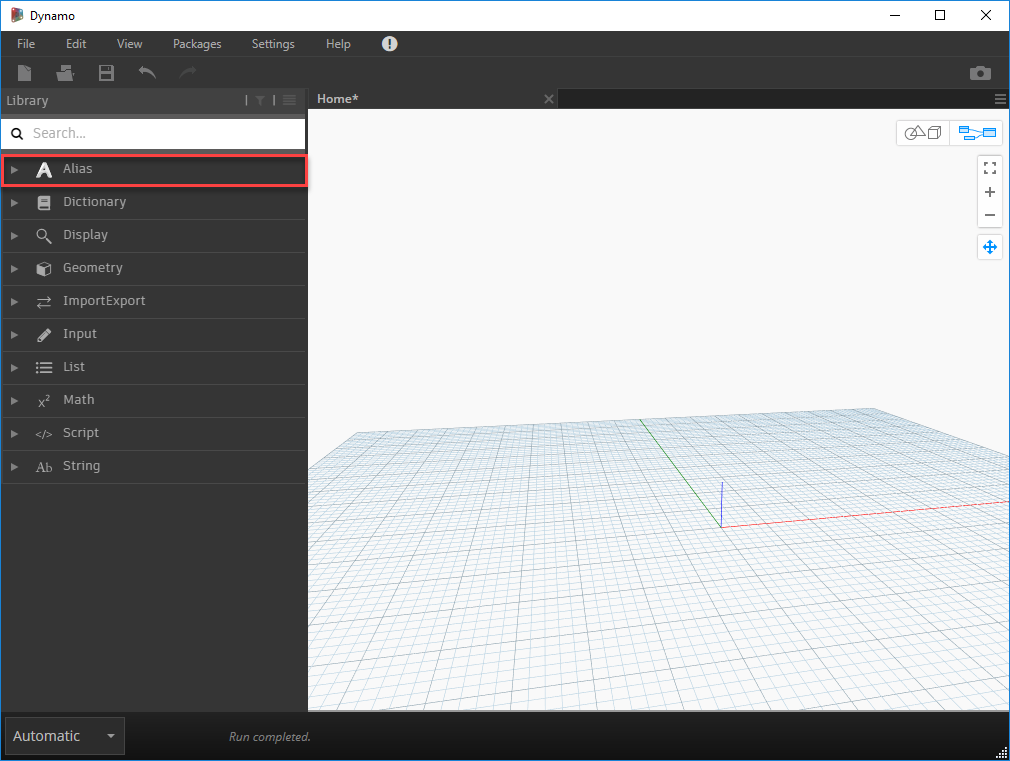
In the Dynamo start panel, under Files, choose New to create a new script, or Open to open an existing script.
The Alias category appears in the Library. It contains the nodes needed for the Alias-Dynamo workflow.

-
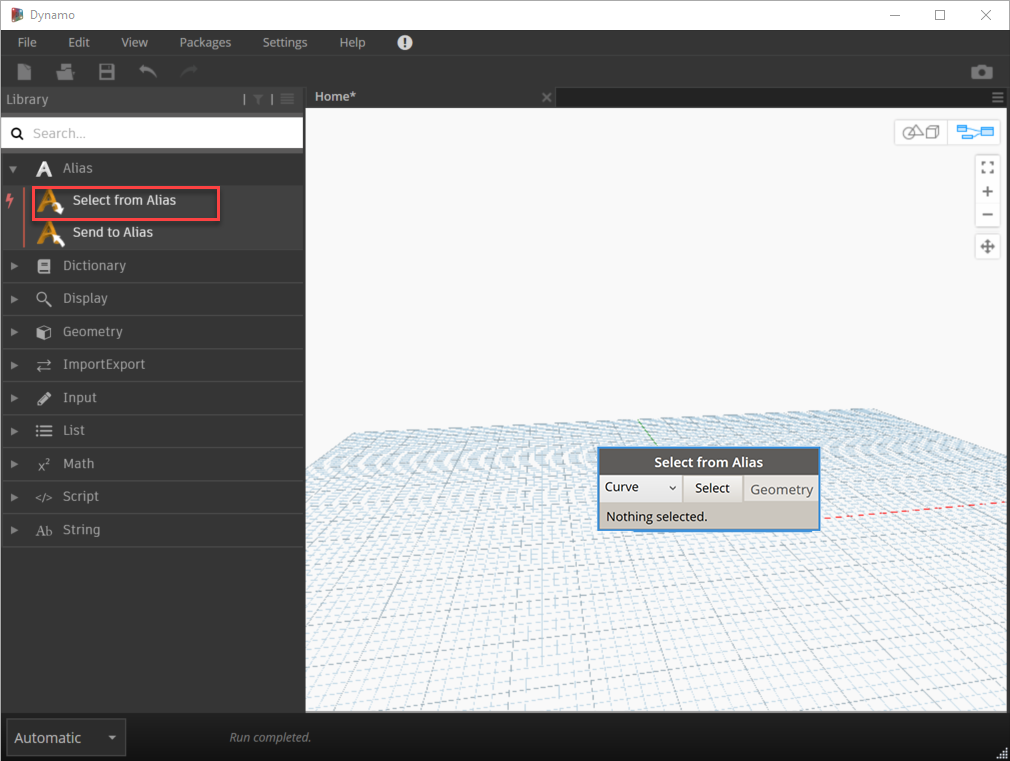
Expand the Alias category and click Select from Alias in the Library to create the Select from Alias node.

-
Select the type of geometry you want to use as an input for the node.

-
On the node, click Unspecified and select the input geometry type from the drop-down list. Choose Unspecified if you do not want to predefine a geometry type.
Note:When you predefine the geometry inputs, Dynamo Player automatically activates the selection filters for each input. This can simplify the process of setting up and running the script for Dynamo Player users.

The focus switches from Dynamo back to Alias.
-
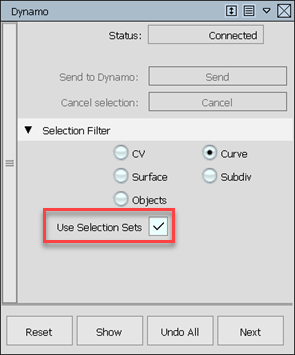
In Alias, select the geometry you want to operate on. If the geometry you want to use is part of a selection set, turn on Use Selection Sets.

-
In the Dynamo option box, click Send to send the selection to Dynamo.

In Dynamo, the Select from Alias node shows that elements have been selected.

- To list the selected geometry, click Geometry.
- To change the selection, click Change, select the geometry in Alias, then Send to Dynamo.
-
Create nodes from the library to build the algorithm.
-
Wire the nodes together.
-
Click Send to Alias in the Library to create the Send to Alias node.
-
Wire the input to the Send to Alias node.
-
Save the Dynamo file and switch to Alias to see the result.
Dynamo learning resources
Dynamo offers many resources to help you get started.
- DynamoPrimer.com introduces you to Dynamo scripting, describing important concepts and demonstrating techniques with full examples.
- DynamoBim.org provides videos, tutorials, examples, and sample data sets to explore.
- Design Studio Blog provides additional Dynamo Player learning resources.
- The Dynamo help center allows you to search for answers to your scripting questions.
- The Dynamo forum connects you with the community to learn from your peers.
- Dynamo also maintains an active Dynamo blog. Read up on recent posts to learn about the latest developments.
- Open-source searchable database for Dynamo functionality.
If you're a programmer and want to get involved in Dynamo's development, check out the github page.
Tutorials
-
Parametric patterning tutorials (Part 1 - Part 5) (tutorial files available, see next section)