Repair defects in meshes
-
In the Mesh tool palette, click the Mesh Repair
 , then the
  icon.
icon.The Mesh Repair Control window opens.
-
Select a mesh.
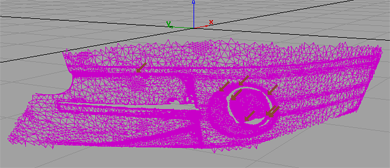
Red arrows appear, pointing to problems with the mesh, if any. The prompt line describes what type of problem the arrows represent.

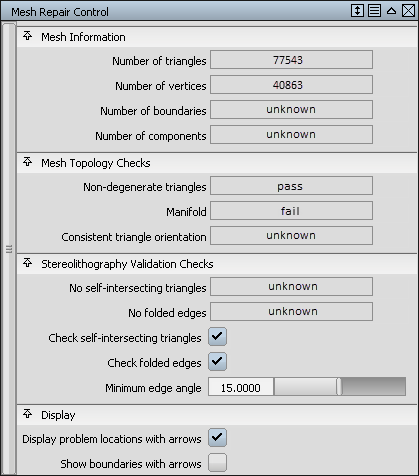
The control window displays mesh information (statistics) and whether or not the mesh satisfies the criteria (passes the tests) defined above. These criteria are examined, and related problems are fixed, one at a time.

-
If a test fails, click the Repair button in the lower right corner of the modeling window to start fixing the mesh.
-
Clicking the button more than once may be necessary. Alternatively, click the Repair All button to fix everything in one step.
-
Follow the instructions on the prompt line and keep clicking the Repair button to successively correct the different problems with the mesh.
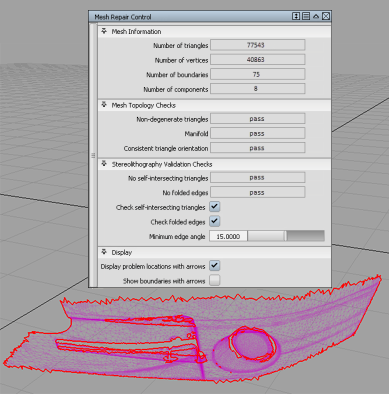
Once the process terminates, the mesh boundaries are drawn in red.

See Mesh > Mesh Repair
 for a detailed description of the Mesh Repair Control window.Note:
Mesh Repair handles Mobius strips by displaying a set of triangles which, when deleted, should remove the embedded mobius strip(s).