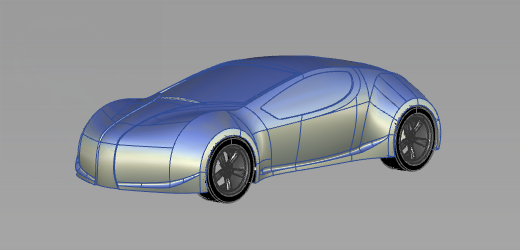
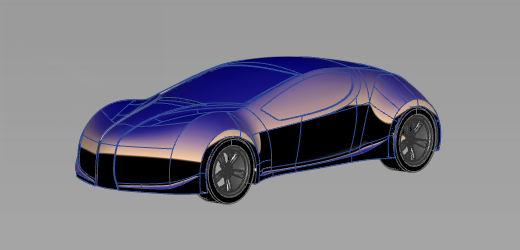
User-defined Texture diagnostic shader
Displays a user-defined texture reflected on the selected surfaces. Use one of the two default textures, or load one of your own.
![]()
This mode shows a user-defined texture reflected on the picked surfaces. You can use one of the two default textures, or load one of your own.
User-defined Texture options
Map Type
Showroom – Shows a texture map with a showroom reflection.
Photo-Horizon – Shows a texture map with a photo-horizon reflection. The abstract Photo-Horizon ramp produces a high contrast effect often used in stylized sketching.
Diffuse – Shows a texture map with a diffuse reflection. The abstract Diffuse ramp provides low contrast reflections appropriate for studying overall form and volumes.
Shade-Sky – Shows a texture map with the reflection of the sky.

Double-horizon – Uses two reflective highlights, as though the model was reflecting a double-horizon.

User defined – Choose your own reflected texture.
Transparency
Sets the transparency of the shaded surfaces, from 0.0 (totally opaque) to 1.0 (totally transparent).
Change texture to
For User Defined texture type, enter the name of a texture file to use instead of the default horizon or sky texture. You can use Alias PIX, SGI’s RGB, TIF and various other image file formats. (The GIF and JPEG file formats are not supported.)
Click the arrow button to choose the texture from a file requester.
Lock Texture
Normally the highlights are projected from the camera, so the projection changes as you move around the surface. (This is the unlocked mode.) You can turn this option on so that the texture remains locked relative to the surface.
Repeats
Sets the rate at which the texture repeats. Increasing this number will increase the number of highlight lines on the surfaces.
Ambient Light
Slide to set the level of ambient light, an illumination that comes from all directions and lights all objects uniformly. The slider ranges from 0.0 (no illumination) to 1.0 (maximum illumination).
Diffuse Light
Slide to set the ability of objects to reflect light in all directions. The slider ranges from 0.0 (no light is reflected) to 1.0 (all light is reflected).
Link Light to Camera
When this option is checked on (default) the light source for the shading comes from the camera (like a headlight), so that the highlights move over the model as you tumble around it.
Checking off this option un-links the light source from the camera and locks it to its current position, so the highlights remain stationary as you tumble. It also displays two sliders and a manipulator that let you rotate the light around the model.
The center of rotation is calculated at the moment Link Light to Camera is checked off. It corresponds to the tumble center used when tumbling with Alt + Shift + left mouse button (with Tumble Center set to World Point in View > World Move Camera >Tumble). Setting a point-of-interest (POI) on the geometry or doing a View > Look At modifies the tumble center, hence the center of rotation.
Light Azimuth
Azimuth values range from -180 degrees to 180 degrees and rotate the light horizontally.
Light Elevation
Elevation values range from -90 to 90 degrees and rotate the light vertically.