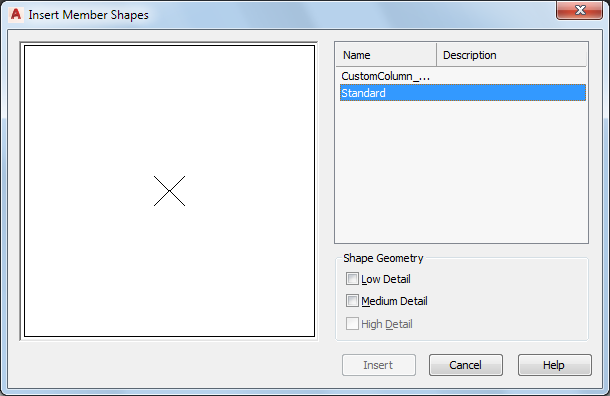
Use this procedure to insert one or more of the geometries defined for a custom shape into a drawing. The geometry can then be edited or used as is to define one of the display representations for another custom member shape you are creating or editing.
- Click


 .
. 

- In the right pane of the Insert Member Shapes worksheet, select a custom member shape.
- Click one or more of the Shape Geometry check boxes.
The geometry for each selected shape designation is highlighted in the viewer.
- Click Insert.
- Specify an insertion point for each of the selected shape designations in the drawing area.