When a new project is created, its associated tool palette group is empty, unless the new project is explicitly pointing to an existing tool palette group. You can add and remove palettes, add, remove, and rearrange tools to suit the needs of the current project.
Tip: To make sure that the changes you make here are distributed to all project collaborators, you should define the tool palette storage type as a shared workspace catalog.
Attention: All new palettes you add to the tool palettes set while a project is current are added to the current project’s tool palette group. This happens regardless of whether the project tool palette group is active or not. In order to add new palettes to the global tool palettes associated with your user profile, you must first close any project that is current.
You can add standard tools to the project palette group in these ways:
- Add standard tools from the project library
- Add standard tools from the from standards drawings in Style Manager
- Set the desired project current.
- Click
 .
. - In the title bar of the tool palettes set, click
 , and then select the project tool palette group.
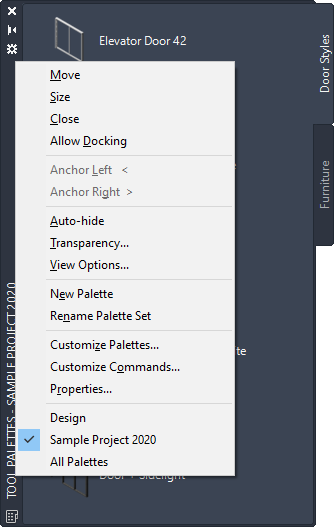
Selecting the project palette group
- Add and rename palettes as necessary.
- To add standard tools from the project library, click
 in the Project Navigator toolbar.
 The Content Browser is opened with the project library displayed.
- Drag tools or palettes from the project library to the project palette group.
- To add standard tools from the standards drawings, open a project drawing, and click .

The project standards drawings are displayed under the project node. You can drag-and-drop styles from the Style Manager to the project palettes.
The next time you open the project, the new palettes and tools will be present in the project tool palettes.