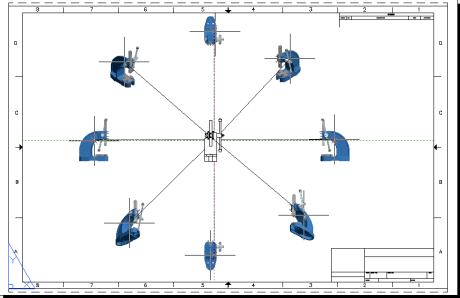
Create base, orthogonal, and isometric projected views from 3D solids and surfaces in model space.
- At the bottom right of the drawing area, click the tab corresponding to the layout you intend to create the base view on. Tip: If the layout contains a viewport, we recommend that you delete it before you proceed.
- Click


 . Find
 Entire model space is selected and a preview of the base view appears at the cursor. To create the base view for selected objects only:
- Click

 . Find
 - SHIFT-click the objects you don't want to include in the base view. Tip: If you accidently removed an object that you didn't intend to, click the object. The object is selected for the base view.
- Press ENTER to return to the layout.
- Click
- In the Orientation panel of the Drawing View Creation contextual ribbon tab, select the orientation for the base view.
- In the Appearance panel, specify the scale and view style.
- Click in the drawing area to indicate the location to place the base view and press ENTER. A preview of a projected view appears at the cursor.
- Move the preview to the desired location and click. Repeat until all the required projected views are created. Note: As you move the preview, the orientation of the projected view changes to reflect its relationship to the base view.

- Click Drawing View Creation tab
 Create panel
 OK. Find
Note: You can change the properties of the base view using the ribbon until you press ENTER.