Attributes, like geometry, can be added to a block when it is initially created with the BLOCK command or later when being edited in the Block Editor (BEDIT command).
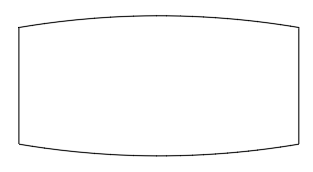
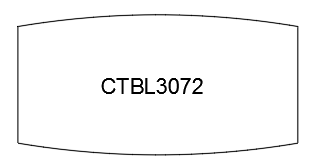
- Open a new drawing, draw a rectangular object that is 30”x72” to represent a conference table. Not all conference tables are rectangular, so feel free to add some curved edges.
- Enter ATTDEF at the command prompt.
- In the Attribute Definition dialog box, specify the values shown in the following image:
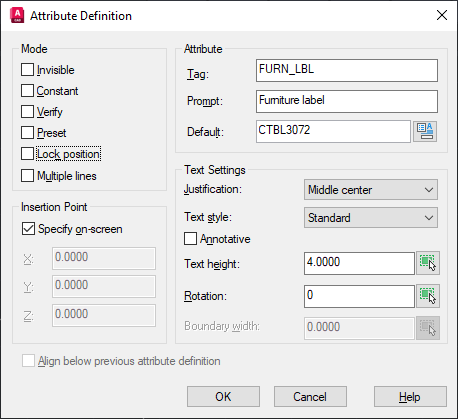
The properties in the Attribute section are used to control the text that is displayed in a drawing and the value assigned to the attribute.
- Tag - Visible placeholder text that is displayed in the drawing window prior to the attribute being added to a block; value provided is used to identify the attribute when extracting values from a block.
- Default - Replaces the Tag and is the value assigned to the attribute upon the insertion of a block.
- Prompt - Message string displayed in the Edit Attributes dialog box or at the Command prompt during the insertion of a block to let you know the type of information an attribute expects.
- Accept the values provided and specify the insertion point for the attribute, the best place is inside of the geometry that defines the conference table.
- Start the ATTDEF command again to create a second attribute definition, and specify the values shown in the following image:
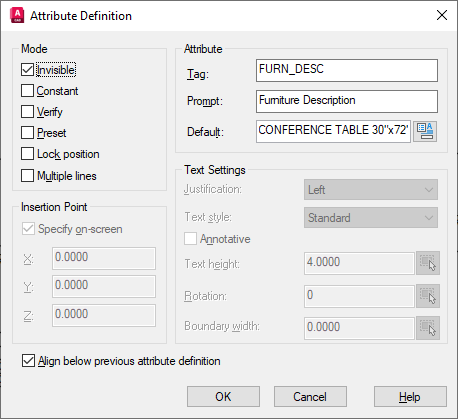
Note: The Invisible mode suppresses the visibility of the attribute on-screen and keeps the drawing from looking too crowded, while still providing the benefits of being able to add information to a block. The visibility of hidden attributes can be toggled with the ATTDISP command.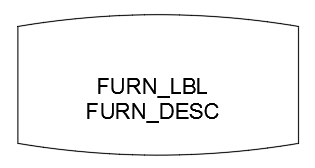
- Enter BLOCK at the command prompt.
- In the Block Definition dialog box, specify the values shown in the following image:
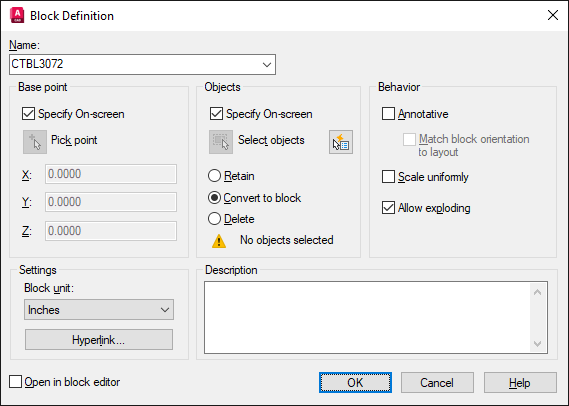
- Accept the values provided and specify the center of the table as the base point for the block.
Tip: The Mid Between 2 Points object snap is an efficient way to find the center point of the table. When prompted to specify the base point, hold SHIFT and right-click to choose the Mid Between 2 Points option.
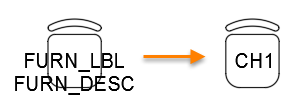
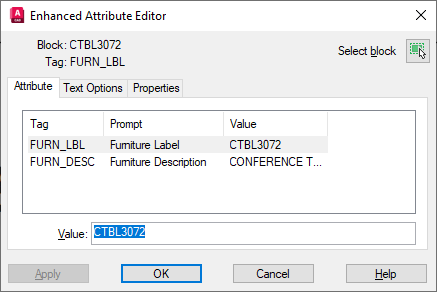
- Select the geometry of the table, and then select the FURN_LBL attribute followed by the FURN_DESC attribute.
Note: The prompt order for attribute values is determined by the order in which attributes were selected while defining a block; this order can be important when creating scripts or AutoLISP programs. The BATTMAN command can be used to change the prompt order of attributes in a block.
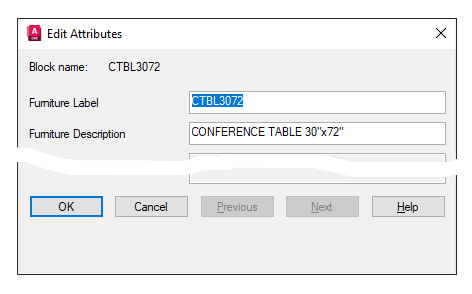
- In the Edit Attributes dialog box, accept the default values.
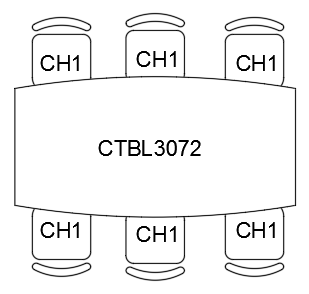
- Chairs are commonly found in a conference room, so create a block named CH1 that represents a chair and add the same two attributes that you defined for the conference table in the steps 5-7. Assign the Default values of CH1 and CONFERENCE CHAIR W/O ARMS for the FURN_LBL and FURN_DESC attributes in the chair block, respectively.
Insert a Block with an Attribute
While inserting a block with attributes, you can accept the default value or provide a new value for each attribute in the block.
- Start the INSERT command.
- In the Insert dialog box, choose the block that represents the conference table that you previously created.
- Accept the values provided and specify any expected values to insert the block.
- In the Edit Attributes dialog box, edit the default value for each attribute as needed.
- Insert several of the conference chair blocks along the two longer sides of the conference table.
- Save the changes to the drawing.
After inserting a block with attributes, you can double-click the block to edit the current value of each attribute in the block.
Now that you have a basic understanding of defining and inserting blocks with attributes, you can extract the values of the block attributes into a table by continuing onto the Have You Tried: Extract Attribute Values from Blocks topic.