Add part number tags to an MEP system before creating a schedule.
You can also modify or remove existing part number tags.
To add part numbers to an MEP system
- Click Annotate tab
 Scheduling panel
  Tags drop-down
  Text Part Numbering Tag. Find
 - Click the Rectangular, Oval, or Text Part Number tool.
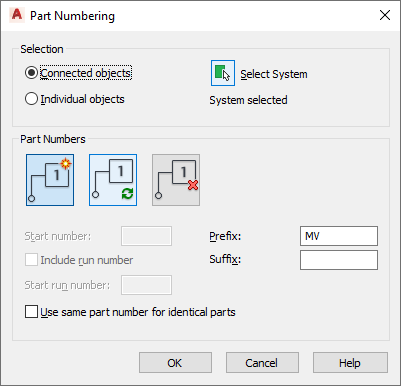
- Use the Select System button to select the system objects for tagging.

- Choose whether to tag individual objects or connected objects.
- Use the Add, Update, or Remove buttons to choose your Part Numbering operation.
If you want to.... Use... create a new set of part numbers Add Part Number modify an existing set of part numbers Update Part Numbers delete an existing set of part numbers, including property sets Remove Part Number - Set the tag starting value and add any desired tag prefix or suffix information.
The tag starting value can be a number or a letter, or a combination of the two. Valid numbering sequences include:
- 1,2,3...
- A,B,C...Z,AA,AB...
- a,b,c...z,aa,ab...
- A1,A2...A9,B0,B1...
- 1A,1B...1Z,2A...

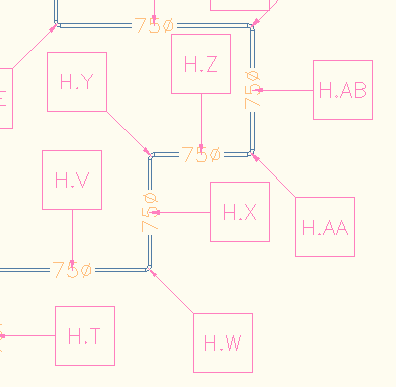
Alphanumeric Part Numbers with the Run Number (H) Followed by a Sequenced Part Number
- Click Include run number to differentiate among separate but connected runs, and enter a run designator value.
- Click Use the same part number for identical parts to set or cancel this option.
- Click OK to start tag insertion.