You can override a routing preference and specify a different part to use while drawing a pipe run. For example, if you want to use a threaded takeoff for a specific run instead of the default butt-welded takeoff, you can override the default takeoff.
When you override a default part, it remains in effect until you end the Pipe Add command. The next time you add pipes, the default part in the routing preference is resumed.
- Add pipe, as explained in About Creating a Piping System.
- On the Properties palette, expand Advanced, and under Routing Options, click
 to open the Fittings Settings dialog.
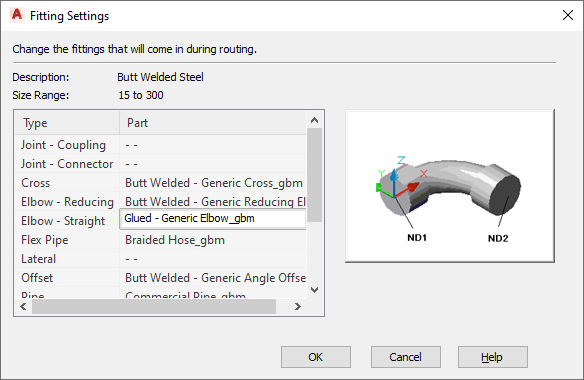
Fitting Settings dialog
The Fitting Settings worksheet shows the current description and size range from the catalog, and lists the available types and parts. If no value is available, the worksheet shows “- -”.
- In the Fitting Settings dialog, select the fitting type to override.
- Choose a part from the list.
- Specify points to lay out the pipe run.
The overridden part is automatically inserted into the layout.
The override is removed after you end the PipeAdd command. The next time you run PipeAdd, the default part from the routing preference is used once again.