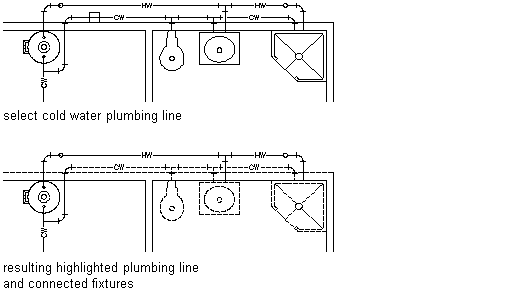
- Complete a draft of the supply system.
- Select a run whose system type is Hot Water or Cold Water. When you select the run, specify the point on the run at which to find the flow rate, velocity, and plumbing line diameter.
- Click

 .
.  Note: To calculate sizing values without resizing the run, access the sizing calculator by clicking

 , and then press Enter at the command prompt.
 The software highlights all plumbing lines, fittings, and fixtures connected to, and downstream from, the plumbing line, as illustrated in the following drawing.

- In the Size Supply Plumbing Line dialog box, under Design Values, define the following sizing parameter values:
Equivalent Plumbing Line Length for the Valves and Fittings
For Plumbing Line Sizing Table, select the plumbing line sizing table definition that you created based on applicable codes, such as the Uniform Plumbing Code, and verify its accuracy.
Tip: To examine the table definition in order to verify its accuracy, click the Plumbing Line Sizing Table icon.Appropriate Plumbing Line Size
Select Restrict Velocity, and enter the maximum velocity that you want in the run. This setting ensures that the plumbing line does not exceed a certain value, thus avoiding issues such as water hammer.
Amount of Water Pressure Coming into the Building
Enter a value for Pressure at Source. For example, the pressure at the source of the building could originate from a booster pump.
Minimum Amount of Pressure
Enter a value for Pressure-Highest Fixture. For example, a third-floor toilet fixture at an elevation of 80 feet might require 15 psi in order to flush. This setting ensures that the minimum amount of pressure to be supplied to the highest-level fixture in the supply run will guarantee an adequate flow.
For more information on the parameters involved in sizing plumbing lines, see Specifying Design Values for Supply Pipe Sizing.
The non-editable sections in the Size Supply Plumbing Line dialog box contain the results of the sizing calculations. For more information, see Reviewing the Results of Supply Pipe Sizing.
- Click OK to resize the system.