- Click Manage tab
 MEP Content panel Content Builder .
The Getting Started - Catalog Screen dialog box is displayed.
- In the Getting Started - Catalog Screen dialog box, for Part Domain, select Primitives and Re-usable Parts.
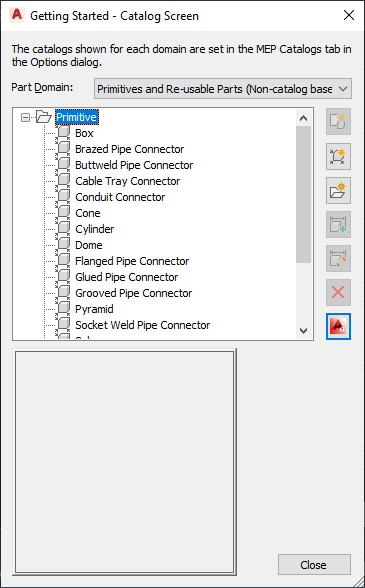
Getting Started - Catalog Screen dialog box for primitives
- Select the chapter to which to add the primitive, and click
 (New Parametric Part).
 - In the New Primitive dialog box, enter a name for the primitive, and click OK.
The Content Builder environment is displayed. Because primitives do not have many of the modeling features that parts have, such as part configuration information or size parameters, only a subset of modeling features are available to you.
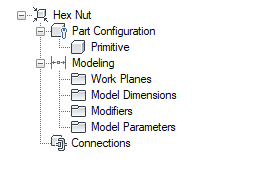
Part browser for a custom primitive
- Create the primitive as desired. Tip: In the descriptions of the model parameters, enter descriptive text and include a reference to the primitive name. This makes it easier for you to differentiate parameters when you have added multiple primitives, or a mixture of primitives and manually added features, to a part.
- Generate a preview image (BMP file) of the primitive.
Preview images are helpful when you are selecting primitives to add to custom parts. You can generate the preview image for a primitive, which enables you to select the view direction for the image. If you do not generate an image, the software generates an image using the SW isometric view direction when you save the primitive.
Generating a preview image is the same for a primitive as it is for an MvPart. For more information, see Generating a Preview Image of a Parametric MvPart.
- Click
 to validate the part. Note: To be valid, a primitive requires at least one work plane that contains parametric geometry.
 - Click .
