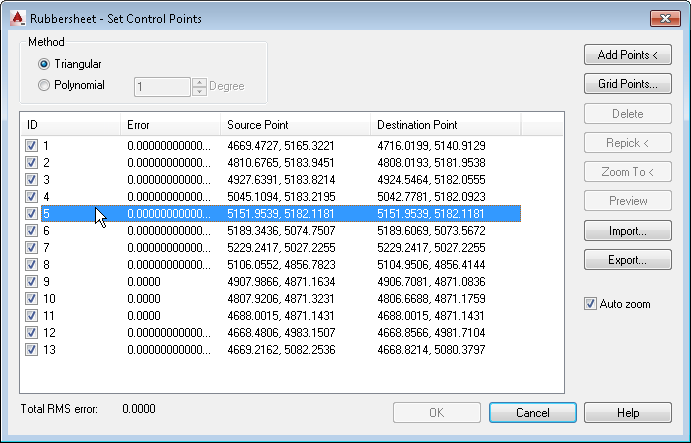
You can use the Rubbersheet option to
- Fix distortions in aerial photography caused by aircraft tilt, camera distortion, and unevenness of terrain.
- Save money on orthophotography when absolute accuracy is not required.
- Correct most of the distortions in an image resulting from parallax.
Rubbersheeting works by transforming an image so that points you specify in the image match corresponding points in the drawing as closely as possible. These matched points, consisting of a source point in the image, and a destination point in the drawing, are known collectively as control points. Enter control points by picking them from the image, or use the Grid tool to make a grid of destination points that you match to their corresponding source points.
AutoCAD Raster Design toolset provides two methods for transforming the image:
- Triangular method uses the control points you enter to triangulate the image, then performs a series of small transformations on those triangular areas. The area to be transformed is called the convex hull, and is defined by the outermost destination points. Image data outside the convex hull is discarded.
- Polynomial method, rubbersheeting Polynomial method uses the control points to perform a single transformation based on the entire image. However, the polynomial method does not always result in perfectly matched control points.

In the Rubbersheet – Set Control Points dialog box, add control points to your image or import a control point file to apply to your image. After the points are added to your image, click Export to save the control point set.