In this exercise, you use REM commands to clean up a drawing.
| To edit a drawing by using a REM object | ||
|---|---|---|
| 1 |
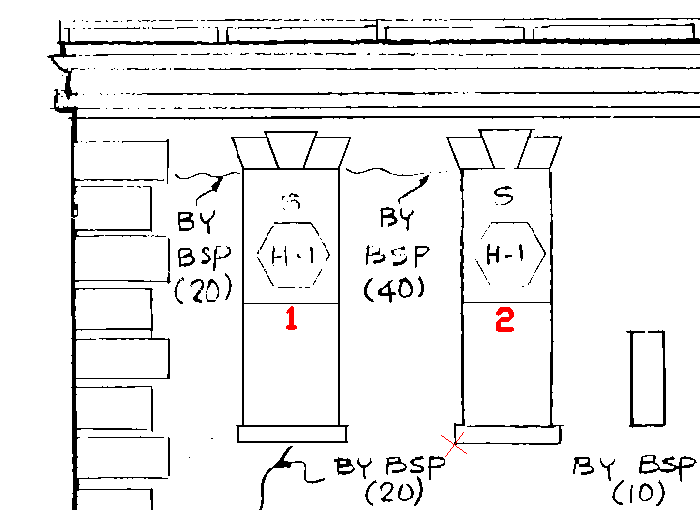
Open the LiveView_REM.dwg sample file. Zoom in to the upper left corner of the building. You will use window 1 on the upper left as a template to replace window 2. |
 |
| 2 |
Click
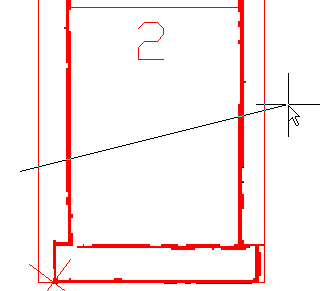
Raster menu The complete outline of the window is converted to a REM region because all the lines are connected to the two lines that crossed the fence. |
 |
| 3 |
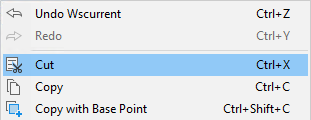
Select the border of the REM region, right-click and click Cut. The window outline is deleted, leaving a red X to mark its bottom left corner. |
 |
| 4 |
Use another connected fence to create an enhanced bitonal region for window 1. Select the REM region, right-click and click Copy With Base Point. |
 |
| 5 |
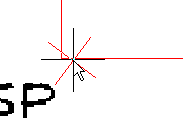
Click the bottom left corner of window 1 to specify the base point, right-click, and click Paste. Align the cursor with the red X for window 2, and click to paste the REM window in the right location. |
 |
| 6 |
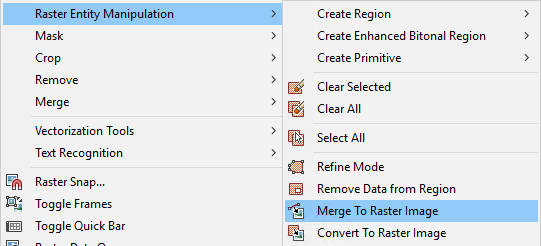
Click the REM window, then click
Raster menu REM window 1 is converted to raster. Further exploration: Copy the REM window and replace the two windows below windows 1 and 2. |
 |
