In this tutorial, you will create simple existing ground and layout profiles for an alignment.
An existing ground profile is extracted from a surface and shows the changes in elevation along a horizontal alignment. A layout profile is a designed object that shows the proposed grade and elevations to be constructed. Profiles are displayed on an annotated grid called a profile view.

Display an existing ground profile in a profile view
- Open drawing
Profile-1.dwg, which is located in the
tutorials drawings folder.
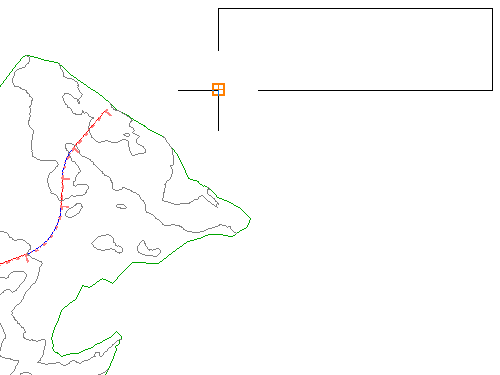
This drawing contains an existing ground surface, an alignment that represents a road centerline, and a polyline that represents the centerline of an intersecting road. You will use the rectangle in the northeast corner of the site as a guide to create a profile view.
- Click
tab
 panel
panel  drop-down
  Find.
Find.
- In the
Create Profile From Surface dialog box, click
Add.
Note:
For this exercise, the First Street alignment and the EG surface are the only available selections, and are selected by default.
- Click Draw in Profile View.
- In the Create Profile View wizard, click Create Profile View.
- In the drawing, click the lower left corner of the rectangular placeholder.

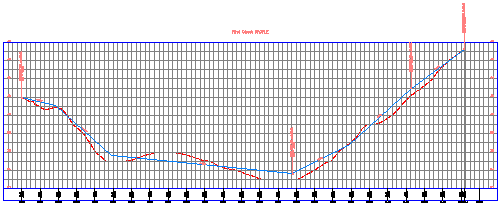
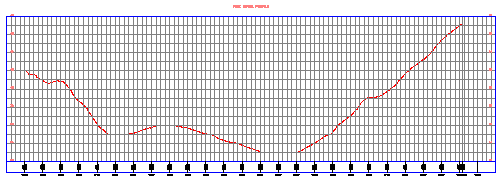
The First Street Profile view is displayed, containing the dashed profile that represents the existing ground (EG) surface. The left and right sides annotate elevations. The bottom annotates the stations.

Create a layout profile
- Click
Home tab
 Layers panel
  Layer drop-down. Next to the
_PROF-ROAD-FGCL-PL layer, click
 .
.
You will use the circles in the profile view as a guide to draw a layout profile.
- Click
tab
 panel
panel  drop-down
  Find.
Find.
- Select the profile view that you created.
- In the
Create Profile - Draw New dialog box, specify the following parameters:
- Name: Finished Grade Centerline - First Street
- Profile Style: Design Profile
- Profile Label Set: Complete Label Set
The Profile Layout Tools toolbar is displayed. This toolbar enables you to lay out a finished grade profile, using either points of vertical intersection (PVIs) or constraint-based tangent and curve entities. For this exercise, you will create PVIs at specified points. Tangents will be created between the PVIs, and curves will be created at each PVI.
- On the
Profile Layout Tools toolbar, in the
Draw Tangents list
 , select
Draw Tangents With Curves.
The command line prompts you to specify a start point.
Before selecting a start point, verify that Object Snap (OSNAP) is on and Endpoint and Center modes are selected.
- On the status bar, right-click Object Snap
 . Click
Settings.
- In the Drafting Settings dialog box, on the Object Snap tab, click Clear All, then select Endpoint and Center . Click OK.
- Moving from left to right, click the circle center points to place PVIs.
- Press Enter to complete the layout profile.
The blue Finished Grade Centerline profile and its labels are displayed in the profile view.
- Close the Profile Layout Tools toolbar.
- Click
Home tab
 Layers panel
  Layer drop-down. Next to the
PROF-ROAD-FGCL-PL layer, click
 . Click in the drawing to exit the
Layer Control list.

To continue to the next tutorial, go to Using Surface Profiles.