In this exercise, you will project multi-view blocks, COGO points, and 3D polylines from plan view onto a profile view.
You can project a variety of objects, such as AutoCAD points, solids, blocks, multi-view blocks, 3D polylines, COGO points, feature lines, and survey figures onto a profile view. The process you will use in this exercise can be applied to any of these objects.
Before you project an object into a profile view, make sure that the object has a defined elevation. Otherwise, the elevation may be zero, and the profile view will be expanded vertically to accommodate the zero elevation value.
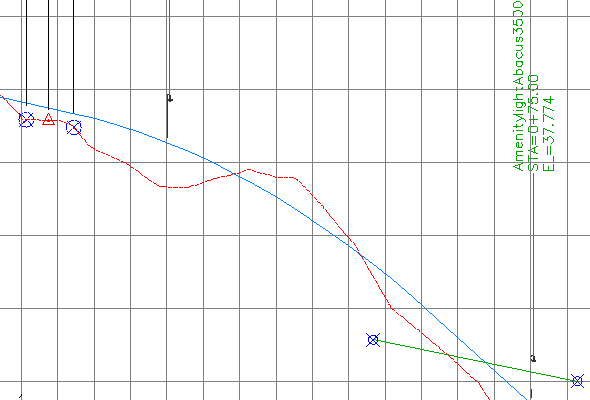
Project multi-view blocks onto a profile view
- Open Profile-5C.dwg, which is located in the tutorials drawings folder.
Two viewports are displayed in this drawing. A plan view of COGO points that represent an existing road, and a proposed corridor is displayed in the left viewport. A profile view that contains existing ground and proposed ground profiles of the proposed road is displayed in the right viewport.
- In the left viewport, at station 0+025, select the multi-view block that represents a light post. Right-click. Click Select Similar.
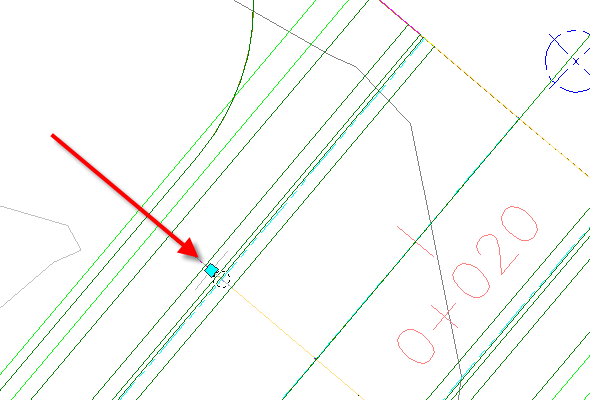
All the light posts along the proposed road corridor are selected.
When you insert a multi-view block into a drawing, it is created as a standard AutoCAD block. Before it can be projected onto a profile view, a multi-view block must be exploded from its original AutoCAD block form.
- Click tab
 panel
panel  drop-down
  Find.
Find. - In the right viewport, click the profile view grid.
- In the Project Objects to Profile View dialog box, click
 <Set All> in each column to specify the following parameters:
 - Style: Projection Without Exaggeration
- Elevation Options: Surface
 First Street Surface
 - Label Style: Object Name Station And Elevation
- Click OK.
The light poles are displayed on the profile view.

Project COGO points and 3D polylines onto a profile view
- In the left viewport, select the three COGO points that are along the proposed road centerline.
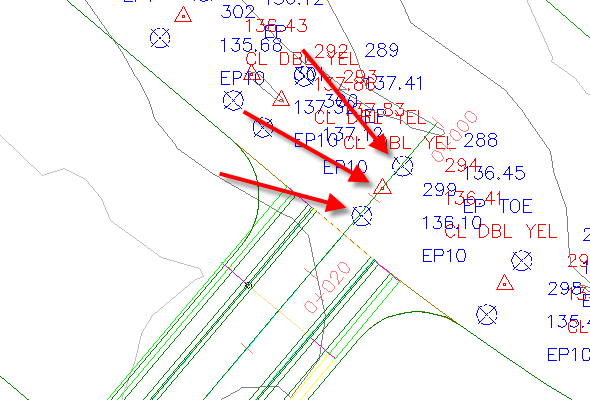
- Click tab
 panel
panel  drop-down
  Find.
Find. - In the right viewport, click the profile view grid.
- In the Project Objects To Profile View dialog box, click
 Pick Objects.
 - In the left viewport, zoom out and select each of the blue 3D polylines that represent the front of building footprints.
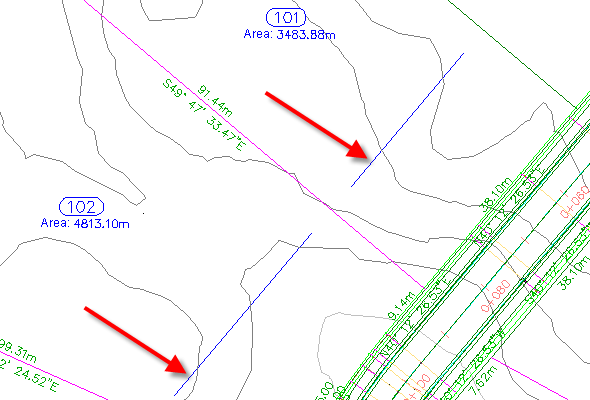
- Press Enter.
- In the Project Objects To Profile View dialog box, in the
 3D Polylines row, under Style, click
  <Set All>.
 - In the Select Projection Style dialog box, select Projection Without Exaggeration.
Leave the Elevation Options setting at
 Use Object. In this case, the appropriate elevation value is a property of the selected objects.
 - Click OK twice.
The COGO points and building 3D polylines are displayed in the profile view.

Edit the projected object elevation
- In the left viewport, select the 3D polyline in parcel 101.

- On the command line, enter LIST.
In the AutoCAD Text Window, notice that the elevation values for the polyline vertices are approximately 38.
- Press Enter. Close the AutoCAD Text Window.
- In the right viewport, select the 3D polyline that crosses between stations 0+060 and 0+080.
When you select the 3D polyline in the profile view, notice that the 3D polyline in plan view is highlighted.
- Drag the left
 grip down toward the bottom of the profile view.
- Repeat Steps 1 and 2 to examine the new elevation value.
When you grip edit a projected feature line or 3D polyline, the corresponding elevation of the source object is adjusted.
- Press Enter. Close the AutoCAD Text Window.
Modify the display of projected objects in profile view
- In the right viewport, select the profile view grid. Right-click. Click Profile View Properties.
The Projections tab is displayed on the Profile View Properties dialog box. You use the controls on this tab to change the parameters that you used when you projected objects onto the profile view.
Note:Like other Autodesk Civil 3D labels, label parameters are changed by selecting the desired label, and then using the Labels contextual tab on the ribbon.
- In the Profile View Properties dialog box, on the Projections tab, clear the
 3D Polylines check box.
 - Click Apply.
The 3D polylines are removed from the profile view, and are cleared from the Profile View Properties dialog box.
- Click OK.
Further exploration: Examine the style settings that are available for projected objects. Projected object styles are located in Toolspace, on the Settings tab, in the General Multipurpose Styles
 Projection Styles collection. Label styles for projected objects are located in Toolspace, on the Settings tab, in the Profile View
 Label Styles
 Projection collection.
To continue this tutorial, go to Exercise 4: Splitting a Profile View.