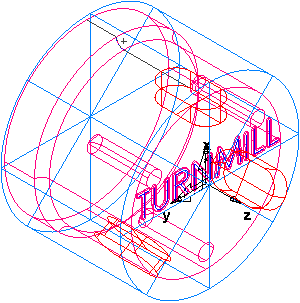
This shows you how to add three milled slots to the part.

Create a Slot feature:
- Select Home tab > Part Program panel > Features.
- In the New Feature wizard, select the Turn/Mill option, and click Next.
- In the
From Dimensions section, select
Slot.
Select Make a pattern from this feature, and click Next.
- On the
Dimensions page:
Enter a Length of 1.0.
Enter a Width of 0.5.
Enter a Depth of 0.25.
Click Next.
- On the Patterns page select Radial around index axis, and click Next.
- On the
Location page:
Enter a B Angle of 90.
Enter a Radius of 1.25.
Enter a Z to 0.25.
Click Next.
- On the
Dimension page:
Enter a Number of 3.
Enter a Spacing Angle of 120.
- Click Finish.