This shows you how to design your part.
- Draw three lines:
- Select Home tab > Create panel > Geometry > Line > Connected. This displays the Feature/Geometry Edit bar.
- To create two lines that define the outer profile, in the Feature/Geometry Edit bar:
For point 1 enter a D/Z 1 of D 2.5, Z 0.
For point 2 enter a D/Z 2 of D 2.5, Z -1.5.
Click Create .
- Create a second line with the values:
For point 2 enter a D/Z 2 of D 2.75, Z -1.5.
Click Create .
- Create a third line with the values:
For point 2 enter a D/Z 2 of D 2.75, Z -2.
Click Create .
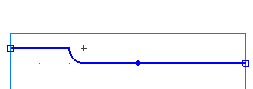
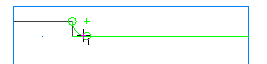
- Create a Fillet to trim your lines.
- Select Home tab > Create panel > Geometry > Fillet > Corner Fillet.
- In the Feature/Geometry Edit bar, enter a radius (R) of 0.125.
- Position your mouse pointer in the corner between the first and second lines, and click to create the fillet. The fillet automatically trims your lines.
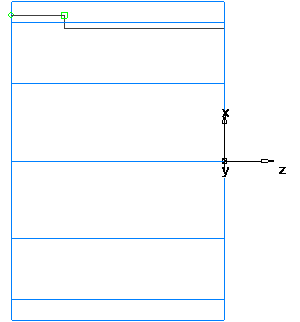
- To turn the part you need to chain the curves.
- Select Home tab > Create > Chaining > Pick Pieces.
- In the graphics window, click the first line and then the third line.
- In the Feature/Geometry Edit bar, name the curve
Turn, and press
Enter.