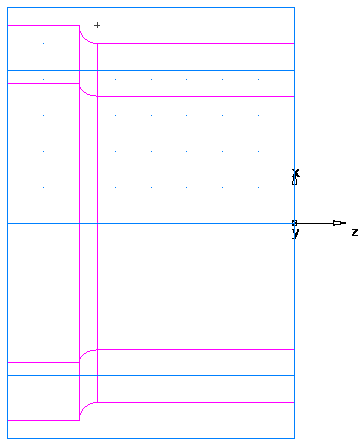
This example shows you how to create the turning features.

- Deselect View tab > Appearance panel > Line Display > Turning 2D View to return to a 3D view of the model.
- Create a Turn feature.
- Select Home tab > Part Program panel > Features.
- In Turn/Mill documents, the New Feature wizard asks you which type of feature you want to create. Select the Turning option, and click Next.
- Select Turn in the From Curve section, and click Next.
- In the Curve field select turn from the list.
Click the Pick Curve
 button to select the curve graphically. The dialog minimizes to reveal the graphics window beneath.
Click the curve you named Turn earlier.
In the Select dialog, select turn, and click OK.
- Click Finish.