To adjust the surface brightness:
- For models with many flat surfaces, select Depth Cue and adjust the k and linear parameters to lighten or darken the shading.
- For models without many flat surfaces, deselect Depth Cue and adjust the Ambient material parameter to lighten or darken the shading.
Lighting
Two lights — Select this option to use light from two separate sources for more even lighting effects.
The lighting model has two different modes. With Depth Cue turned off, the lighting model uses light vectors (or directions). In this mode, the shading is not affected by the position of the light, but rather only the direction of the light. In this case you can specify the two light vectors as Light vector 1 and Light vector 2.
Depth cue — Select this option to use lighting positions for the lighting model. Both the lighting direction and distance from the surface to the light affect the shading of a surface. In this case you can specify the two light vectors as Light position 1 and Light position 2. The amount that the light is diminished is determined by the following formula:
1/(k + linear * Distance of surface to light)
Both k and linear variables are available for you to alter. Setting k or linear to larger values darkens the view.
Display
The shading performed by FeatureCAM translates surfaces into triangles for shading.
Smooth shading — Select this option to indicate that the shading of the triangles should be blended. If it is deselected, the individual triangles are visible.
Smooth line — Select this option to smooth out the jagged edges of lines. This applies to all line drawings including toolpaths.
Backfaces removed — Select this option to hide surfaces whose normals point into the screen. This option improves shading speeds for solid models. If portions of the model are visibly missing, turn this option off.
Backface lighting — Select this option to duplicate the light vectors in back of the model (for diffused lighting). This option applies when Depth cue is deselected.
Backface highlight — Select this option to duplicate the highlighting effects for the duplicate lights. This option applies when Depth cue is deselected.
Z-buffer — Select this option to sort surfaces by their depth. We recommend that you keep this setting selected.
Z-buffer lines — Select this option to enable the lines to be sorted along with the surfaces. This enables surfaces to occlude lines that are positioned behind. This option is provided for viewing toolpaths in conjunction with shaded surfaces.
Use graphics hardware — Select this option to try to use your graphics card to speed up shading. Many graphics cards are not reliable for shading. If your shading looks bad or performs slowly, turn off this setting.
Display isolines in black — Select this option to display isolines in black rather than just a shade of the model color.
Dither — Select this option to smooth the shading across the part. When deselected, discrete bands of shading are often evident.
Z-buffer rubberband — Select this option to Z-buffer rubberband geometry. Rubberband geometry is a type of geometry that is interactively updated, such as when you drag a circle radius.
Anti-alias tool window — You may need to disable this option if your graphics card or driver cannot support the anti-aliasing well.
Material
Transparent — Select this option to enable the Opacity option.
Opacity — Enter how opaque the surface is from 0 (transparent) to 1 (opaque).
Shininess — Enter how a highlight spreads from 0 (tight) to 100 (broad).
Ambient — Enter the amount of light present in the shading process besides the two light settings. This is cumulative with the settings in the Lighting section.
Diffuse — Enter how the light spreads in the area occupied by the surface.
Specular — Enter the amount of specular light reflection from 0 (no specular reflection) to 1 (full specular reflection).
Stock
Shade by default — Select this option to show the stock as shaded by default and enter a Stock Opacity between 0 (0% shaded) and 1 (100% shaded).
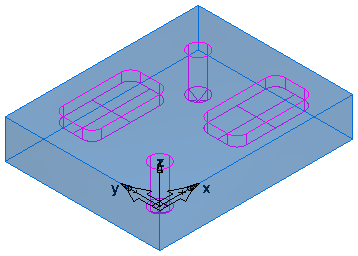
This is an example part with Shade by default deselected:
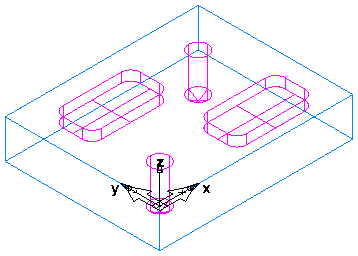
And with Shade by default selected with a Stock Opacity of 0.3 (30%):