Create a sub-layout of selected assets in AutoCAD
Select multiple objects to create a sub-layout so that it is possible to break the specific items into various sub-layouts for individual designers to work on.
The Create Sub-Layout command creates a sub-layout within the current layout.
Create a new layout.
Select the Factory tab > Layout panel > Create Sub-Layout
 .
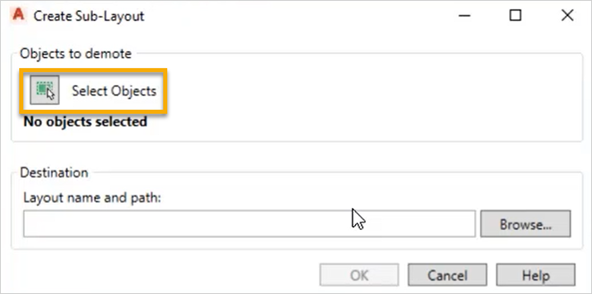
.Click the Select Objects button to start selecting objects in the canvas.

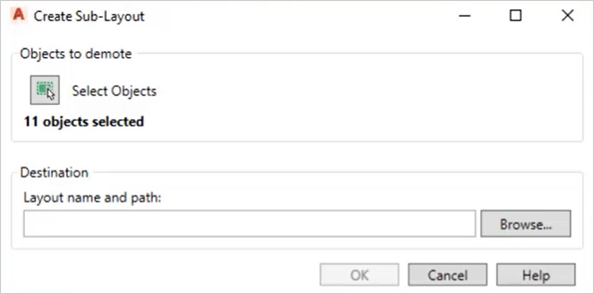
Select objects in the canvas.
Note: If you select an object that you don’t want to be a part of the sub-layout, hold down the Shift key and click on the object to deselect it.Hit enter to go back to the Create Sub-layout dialog box.

Include a location to store the sub-layout file or click the Browse icon to browse for the location.
Enter a name for the new sub-layout in the File Name field.
Click OK to save your changes.
When done, all the selected objects are placed into a sub-layout and is automatically referenced to the layout you’re working on.
Break up the layouts
Break the specific items into various sub-layouts for individual designers to work on.
Create and open the sub-layout.
Select the Factory tab > Layout panel > Create Sub-Layout .
Click the Select Objects button to start selecting objects in the canvas.

Select the individual objects in the canvas.
Hit enter to go back to the Create Sub-layout dialog box.
Include a location to store the sub-layout file or click the Browse icon to browse for the location.
Enter a name for the new sub-layout in the File Name field.
Click OK to save your changes.
All the individual sub-layouts are automatically referenced in the main layout you’re working on.
For more information see Create Sub-Layouts and Create Sub-Layouts in AutoCAD.