After you set the parent-to-child relationships between lights and surfaces, you can set specific surface lighting properties. You control a surface's lighting and adjust the surface's specular highlight in the Surface menu. To access the Surface menu, double-click the selected surface in the schematic, or follow the tab population rules for the Object menu (see Populating Menu Tabs of Selected Objects).
Specular Highlights
A specular highlight is a reflection of a light source. The position of the specular highlight depends on the position and number of light sources surrounding a surface and the angle of the camera.
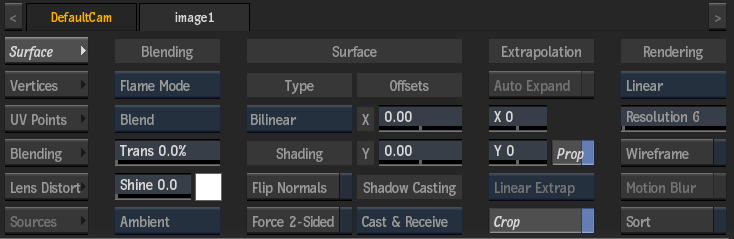
Use the Shine field to change the intensity of the specular highlight. When the Shine value is set to 0, the specular highlight is disabled. To change the size of the specular highlight, use the Falloff field in the Light menu.
 This surface is lit using a Falloff of 30 and a Spread of 27. The surface's Shine is set to 10. |
 This surface is lit using a Falloff of 20 and a Spread of 27. The surface's Shine is set to 1. |
By default, the specular highlight is the same colour as the light source. You can change the colour of the specular highlight by changing the specular colour values.
The specular colour is the colour of light that is reflected by the surface. For example, if the specular colour is red and the light source is white, the specular highlight is red. If the specular colour is yellow and the light source is red, the highlight is orange.
Incidental Light Reflection
Set how a surface reflects incidental light by applying ambient or diffuse lighting. The actual colour of the reflection depends on both the colour value of each pixel and the colour of the incidental light. The intensity of the reflection depends on the orientation of the light source relative to the surface; it is greatest where the incident light strikes the object perpendicular to its surface. The intensity of the reflection is independent of the camera eye position.
When you turn shading on, you do not have to enable a light source to see the lighting effect, as a default infinite light source supplies ambient light at 20% intensity. The infinite light source is located behind the camera eye and cannot be moved. As soon as you add a light source, the infinite light source is replaced by the new light source.
| Select: | To reflect incidental light: |
|---|---|
| Ambient | To all parts of a surface that are not directly illuminated. |
| Diffuse | Equally in all directions, producing a flat reflection on the object. |
Flipping a Surface's Normals
Converting to Wireframe
You can remove some lighting effects for a selected surface by converting surfaces to a wireframe depiction of the surface. When Wireframe is enabled, specular values and any applied textures are replaced with a wireframe view of the surface. When used on an image, the surface will adopt a screen-like look.