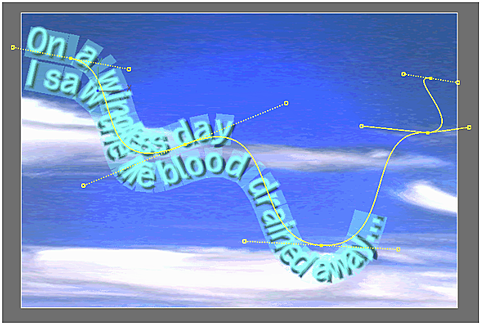
You can create a text layer on a spline and animate it over time. In this way, you create marquee text that twists and turns over an image or in time with other objects in the scene. The spline is fully editable; you can add control points and manipulate their tangent handles.

You can set custom colours for the text path wireframe and vertices in the Text Setup menu. See Setup and Rendering Options.
To animate text on a motion path:
- Create a layer or select a layer in the image window.
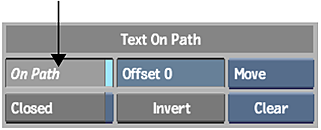
- From the Text On Path section of the Text menu, enable On Path.

By default, the text appears on a path with three vertices.
- Adjust and animate the shape of the path using the Text On Path controls. The Text On Path controls are described as follows.
Select: To: Move Modify the shape of the spline by changing the position of the vertex or tangent. Add Add more vertices to the spline to create a more complex shape with text. Click anywhere on the path to add a vertex. Delete Remove a vertex from the spline. Break Separate two tangent handles and move them independently. Click a tangent; the tangent handle changes from a dashed to a solid line to indicate it is broken. Auto Connect broken tangents automatically. Click a tangent to reconnect it. In the Channel Editor, the Path group contains a Shape channel to animate the path and an Offset channel to animate the offset value.
Saving and Loading Path Setups
You can use a garbage mask spline as a shape for the motion path of text on a path. You can save and load the Shape channel as a list in raw shape data (.raw file), which is compatible with garbage mask raw data. Raw setups between text paths and garbage masks are interchangeable.
To load a raw shape data file:
- In the Text On Path controls, enable On Path.
- Click Load.
The Text load options and file browser appear.
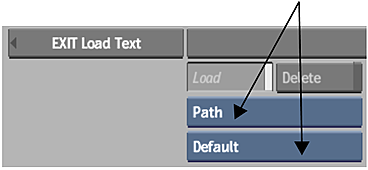
- In the file browser, select Path and then select Default from the Text Path loading boxes.

A set of path files is visible when the Path and Default options are selected in the Load Text menu.
- Browse to find the file you want to load. Tip: Gmask setup files are typically located in the /opt/Autodesk/project/<project_name>/path/directory.
- Click Load.
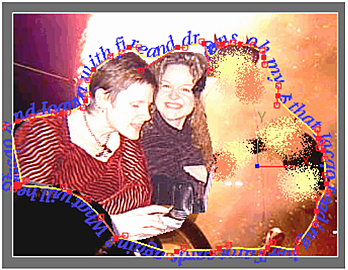
The spline appears with its new shape in the image area.
