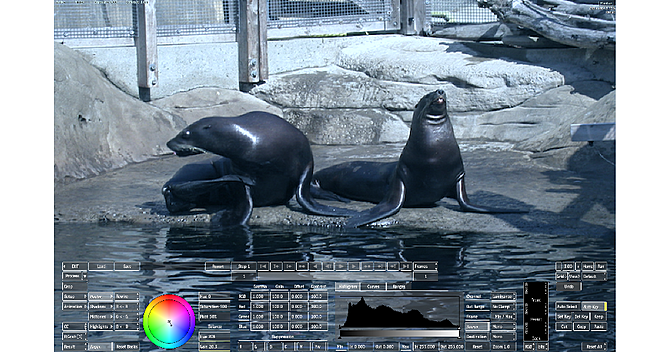
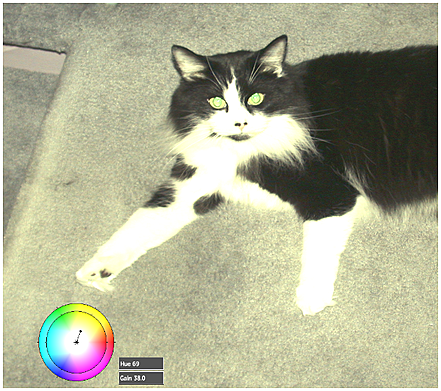
In a number of tool and effect menus (such as the Colour Corrector and 2D Transform), you can use the Overlay user interface. Its controls are identical to those on the regular user interface except that they are transparent and appear on top of the image. This allows you a greater viewing area when working with large or zoomed-in images.
To display the Overlay user interface, select Overlay UI from the Viewport Layout box.

In addition to the increased area provided by the transparent controls, you can view even more of your image depending on the action you are performing. For example:
- Panning and zooming in the clip causes the Overlay user interface to disappear completely until the pan or zoom is complete.
- When you play the clip, the Overlay user interface disappears except for the timebar and the current frame number.
- When adjusting a menu parameter, all other user interface elements disappear.

The Overlay user interface does not support multiple views. When you switch to Overlay user interface while using multiple views, your viewport automatically goes to 1-Up until you toggle back to the regular user interface.
When you access a submenu that does not support Overlay user interface, such as Load or Save, the Overlay user interface is restored when you return to the main menu.
Changing the Look of the Overlay User Interface Buttons
You can adjust the opacity of the Overlay user interface buttons to suit your preference, and even invert the elements in the interface so that white outlines and text appear in a muted grey.
To set preferences for the Overlay user interface:
- While in the Overlay user interface, click View.

In the Layout section, use the Opacity field to increase or decrease the opacity of the buttons. An opacity of 1.0 displays the buttons as they look in the regular user interface. You can also use the following keyboard shortcuts.
Press: To: Ctrl+Alt+(num pad)+ Increase the opacity of the Overlay user interface. Ctrl+Alt+(num pad)- Decrease the opacity of the Overlay user interface. Tip: You can repeatedly press the keyboard shortcuts to increase or decrease opacity, or simply hold down the keyboard shortcuts until the desired opacity is reached.Enable Invert (or press Ctrl+Alt+(num pad)* to switch the Overlay user interface outlines and text from white to grey.