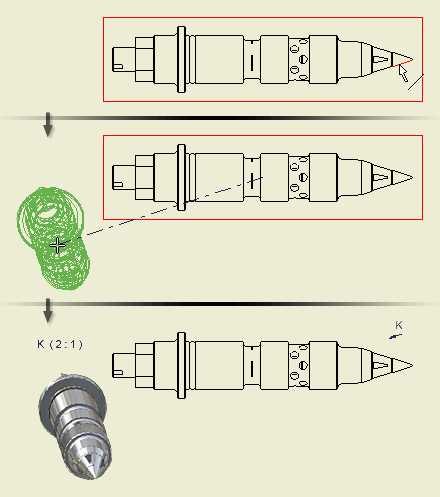
You create an auxiliary view by projecting from an edge or line in a parent view.
Create and Edit an Auxiliary View
You can place the view only in perpendicular or parallel alignment to the selected edge or line.
To create an auxiliary view from a projection line external to the view geometry, you can use Section View.
The default style of auxiliary view annotations is set in the Style and Standard Editor.
- On the ribbon, click
Place Views tab
 Create panel
Auxiliary
Create panel
Auxiliary
 .
.
- Select an existing view as the parent view.
- In the Auxiliary View dialog box, set the scale, display style, and view label or accept the current settings.
- (Optional) Click an icon to specify the display style for the view:
 Shows hidden lines.
 Removes hidden lines.
 Specifies shaded rendering.
- Select the edge or line from which to project the view.
- Move the preview to the appropriate location, and then click to place the view or click OK in the Axillary View dialog box.