Preparing to Migrate Models and Styles
For information on what changes were made to styles and styles management, refer toWhat changed from release to release
Materials
Materials are migrated from Material styles to Materials. There is not an option to defer this action. Custom materials that you have added are migrated. Use the new Material Browser and Material Editor to modify existing or create new materials.
Appearance
Remember: Before ever opening datasets, determine whether or not you want to uncheck the Realistic Appearance option in your Color Styles from an earlier release. Be sure you read the topic and that you are clear on the results you will get.
The following are steps performed in preparation for migrating models:
Step 1: Create a custom library.
- Start a new part.
- In the QAT, click the Appearance Browser:

- In the browser toolbar, at the bottom, click
 Manage > Create New Library
 - Specify a folder location and name for the custom library and click Save.
Step 2: Add the custom library to the project.
- Select the project to which you will add the library.
- Right-click the Material Libraries node and click Add Library.
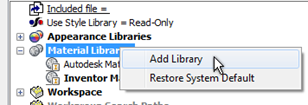
- Navigate to and select the custom library you want to add to the project. Click OK.
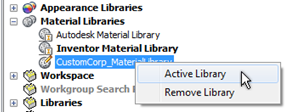
- To make the added library the active library, the first one searched or referenced, right click the library node and click Active Library.
Migrating Models
The following provides two examples of how to migrating model and style content.
Scenario 1 Migrating to a custom .adsklib file
The custom material is defined as part of your Materials.xml and Colors.xml file in 2012. For later releases, you want to migrate the custom material into a custom .adsklib library.
- Start a new part
- In the QAT, click Material Browser :

- In the browser toolbar, click Migrate Inventor Styles.
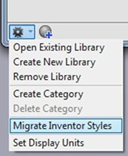
- In the Material Styles Migration dialog box, specify the Migrate From location which where the Materials.xml and Colors.xml files reside. By default the path is C:\Users\Public\Documents\Autodesk\Inventor 2012\Design Data in Windows 7.
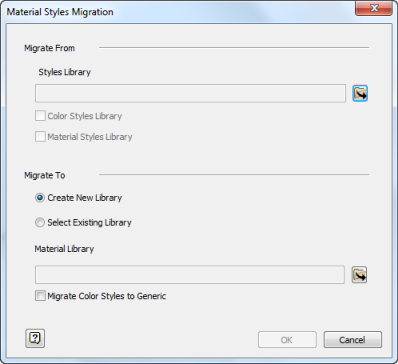
- Specify the Migrate To location which is typically the InventorMaterialsLibrary.adsk file or a custom library you create. By default the path is C:\Users\Public\Documents\Autodesk\Inventor 201_\Design Data\Materials in Windows 7.
- Close and reopen the Material Browser.
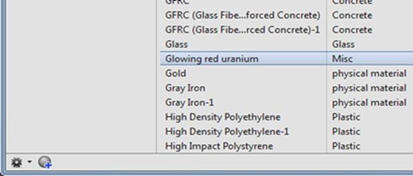
Scenario 2Migrating an individual material style - glowingredunranium.styxml
Prerequisite: You have exported an Inventor 2012 custom material style to a *.styxml file.
- Start Inventor.
- Start a new part file.
- On the Manage tab, in the Styles and Standards panel, click Style Editor.
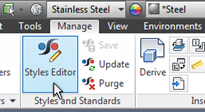
- In the Style Editor, click Import.

- Navigate to and select the *.styxml file you want to import.
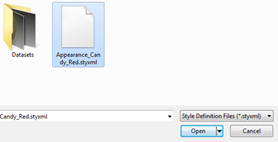
- In the confirmation dialog box, click Accept.

- In the Style Editor, click Done. The style is imported into the current document and is located in the Document Appearances.
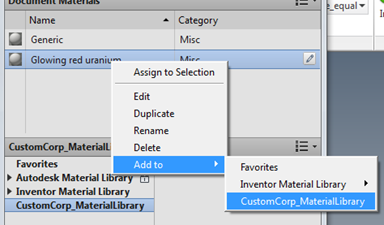
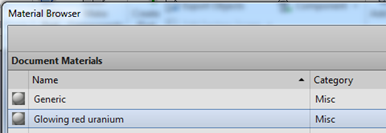
- Open the Material Browser and in Document Materials, you will see the material. It is not yet in a library for use with other components.
- Drag and drop the imported appearance into the custom library. Alternatively, right-click the appearance and in the Add to list, select the library where the appearance will be stored.
