When you connected to the SDF file you created earlier in this tutorial, you brought in its data as geospatial features. Each feature class was a separate Display Manager layer. However, in this lesson you import the SDF data as drawing objects, and each feature class becomes a separate drawing layer.
This exercise uses the map you created with the DWGImportTemplate.dwt template and the SDF file you created in Lesson 1: Converting Drawing Layers to Feature Classes.
To import SDF layers
- Click
 .
. - Change the Files Of Type to Autodesk SDF (*SDF).
- Navigate to the SDF file you created, select it, and click OK.
- In the Import dialog box, check Import Polygons As Closed Polylines.
- Check that each Input Layer maps to the appropriate Drawing Layer.
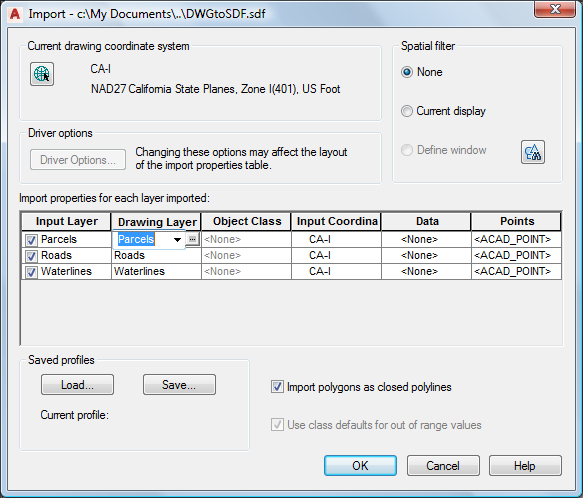
Be sure to select the correct drawing layer.
The drawing template has the original drawing layers defined. Since these layers were the source for the feature classes you are importing, they are mapped appropriately.
- Map the Size property to object data.
- Click in the Data cell for Waterlines.
- Click the
 button that appears.
 - In the Attribute Data dialog box, click Create Object Data.
- For Object Data Table To Use, select Waterlines.
- Click Select Fields.
- In the Object Data Mapping dialog box, select Size and, under Target Fields, enter Size in the corresponding cell.
- Click OK to exit the three dialog boxes.
If you are asked to confirm your actions, click Yes.
- Click View tabNavigate panelZoom dropdownExtents.
You can now work with the objects as you would any DWG data.
To continue this tutorial, go to Exercise 3: Use Display Layers to Assign Object Properties